A Safe IaC CI/CD Terraform Pipeline with Azure DevOps
There are a few articles around that show you how to create an Azure DevOps continuous integration / development pipeline, but none of them are production ready as they don’t show you how to configure approvals, and the plan / apply phases are joined into a single stage.
I’m going to be documenting how to setup a safe terraform pipeline for IaC from scratch in this article, it’s going to be a big one but it’s worth it. This article won't bestow the benefits of IaC or Terraform, it assumes you're on-board with IaC and implementing infrastructure via code in a safe and automated manner.
Platform Overview
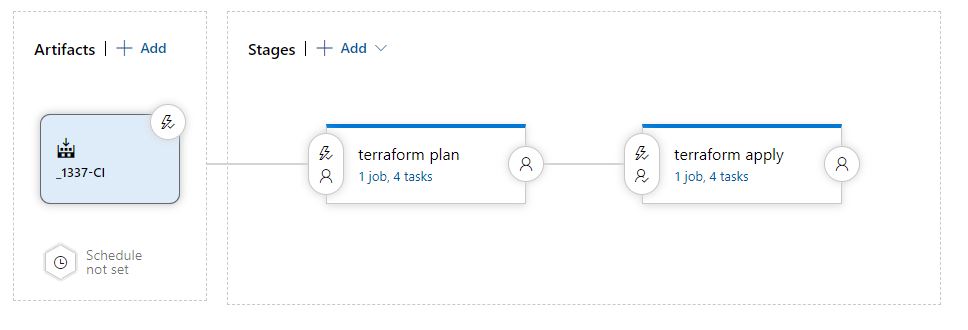
We’re going to be creating an automated IaC deployment process that will use VS Code for creating and managing your Azure infrastructure using terraform in a safe way, with approvals for any changes. It will incorporate a two-stage release pipeline that executes a terraform plan, then waits for approval before the terraform apply is executed. This gives you the opportunity to examine any changes that will occur so you can be sure the outcome of the change is what you wanted.
Requirements
To implement the above, the only element that costs anything is what we'll provision in your Azure subscription, Azure DevOps is free for a single CI/CD pipeline, VS Code is free and Terraform is open source - happy days.
Let's drill down into the elements we're going to configure;
- An Azure subscription
- VS Code for creating the terraform files
- A DevOps Project for GIT storage and to automate the deployment process
- A Resource Group, Storage account & container for the Terraform state file
- An Azure Service Principal for authentication
Implementation
Setting up Azure DevOps
The first thing we'll do is setup your Azure Devops Project;
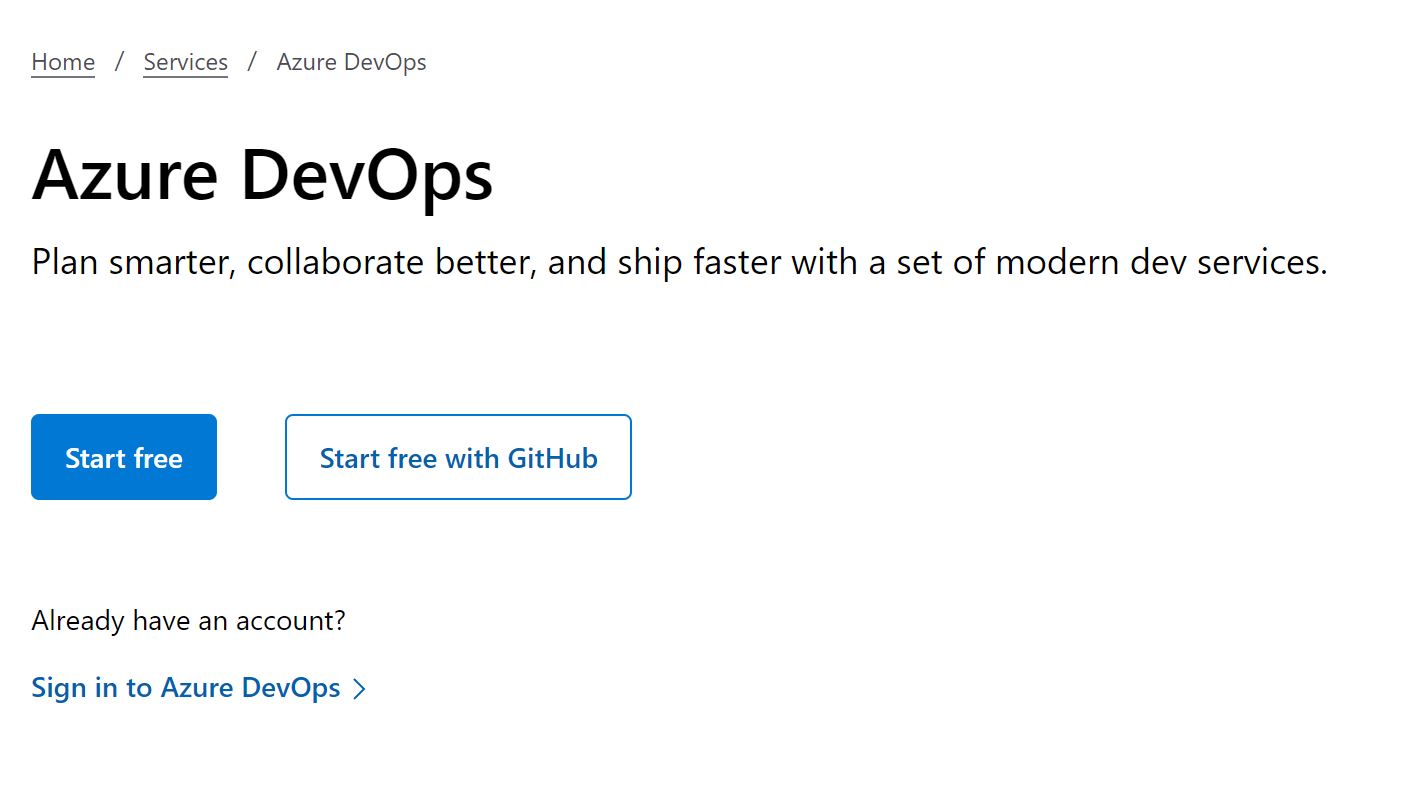
Nagivate to https://dev.azure.com and click on 'Start free'
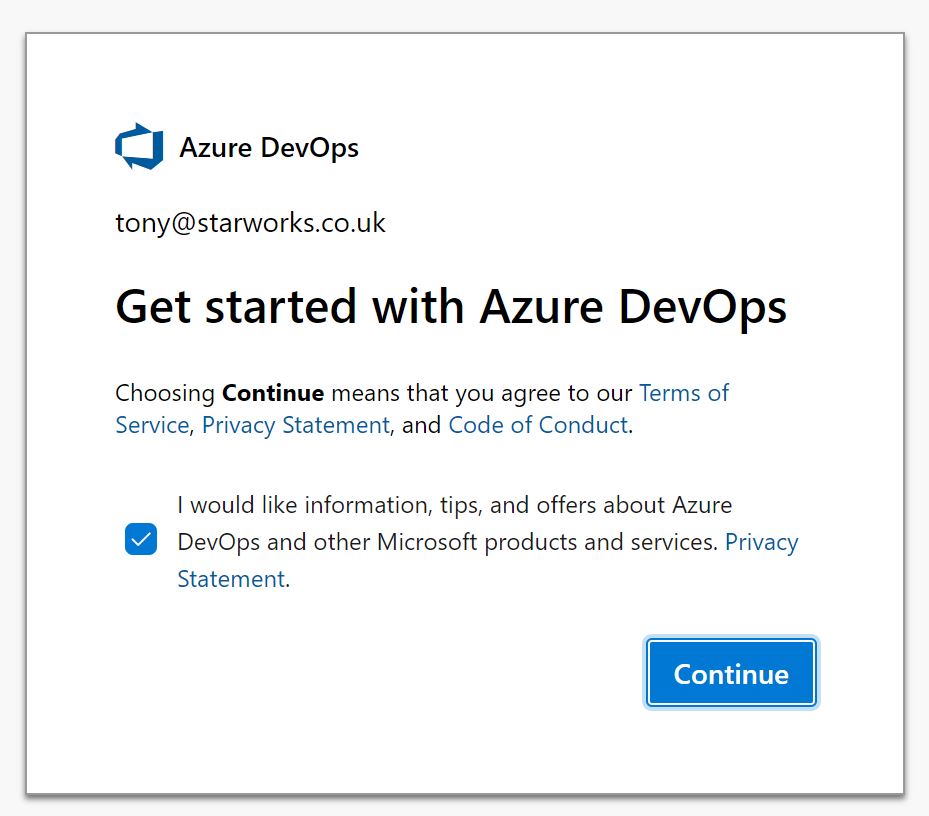
Click continue to accept the terms of service
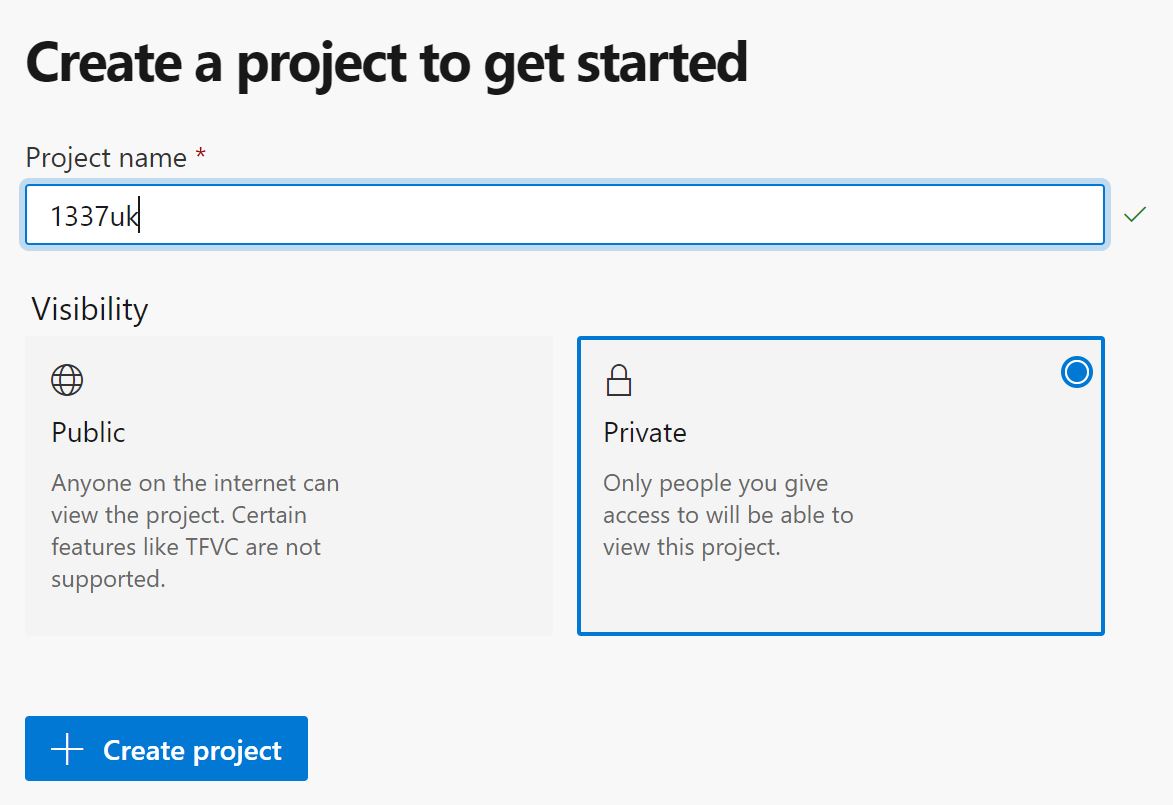
Enter a name for your DevOps project, keep your project private and click 'Create project'
You'll then be taken to your blank Azure DevOps project
![]()
Initialize the DevOps repo
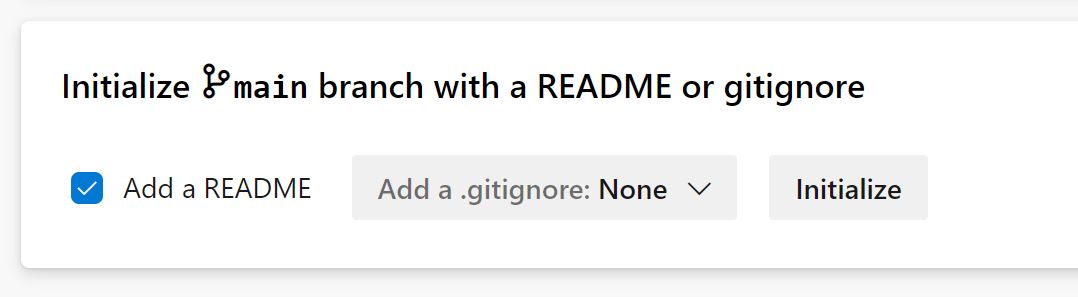
We need a GIT location to store our terraform files. We can use Github, or an external repo but as DevOps contains a GIT repo, we'll keep in contained all inside DevOps. To initialize the DevOps repo, click on Repos then (currently) at the bottom, click initialize on the section entitled 'Initialize main branch with a README or gitignore'.
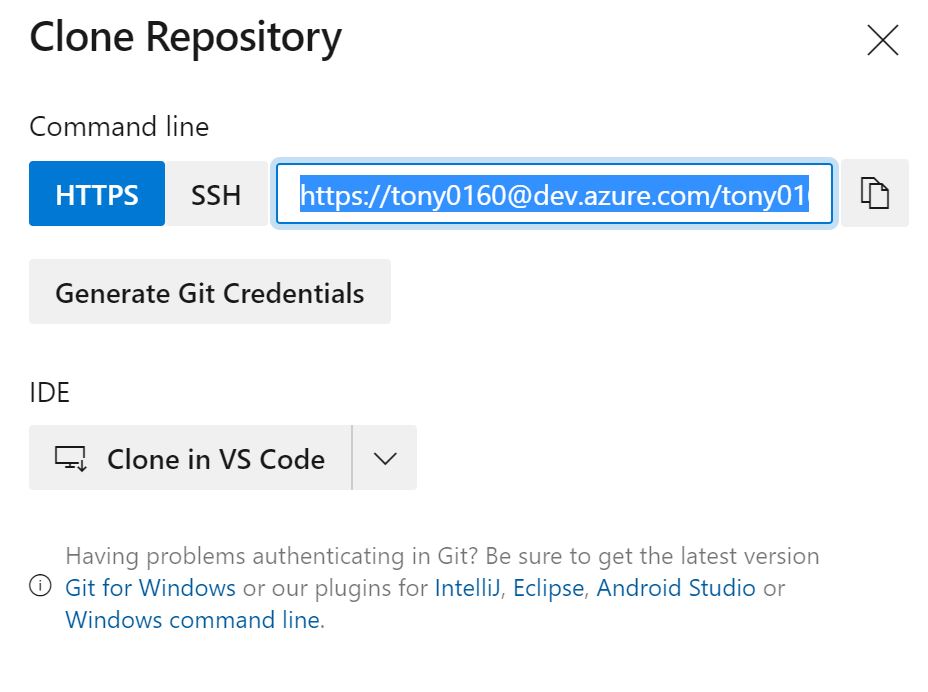
You'll be presented with a repo with just a readme file inside - let's get this setup inside VS Code - click clone at the top right, then clone in VS Code. (If you haven't setup VS Code yet, follow this guide - Setting up VS Code for Terraform IaC, then come back to this point.
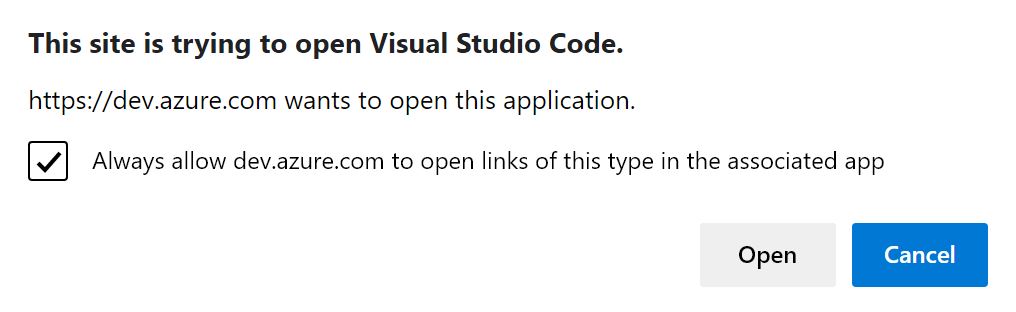
You'll get notice that your browser is trying to open VS Code - check the box to always allow and click Open.
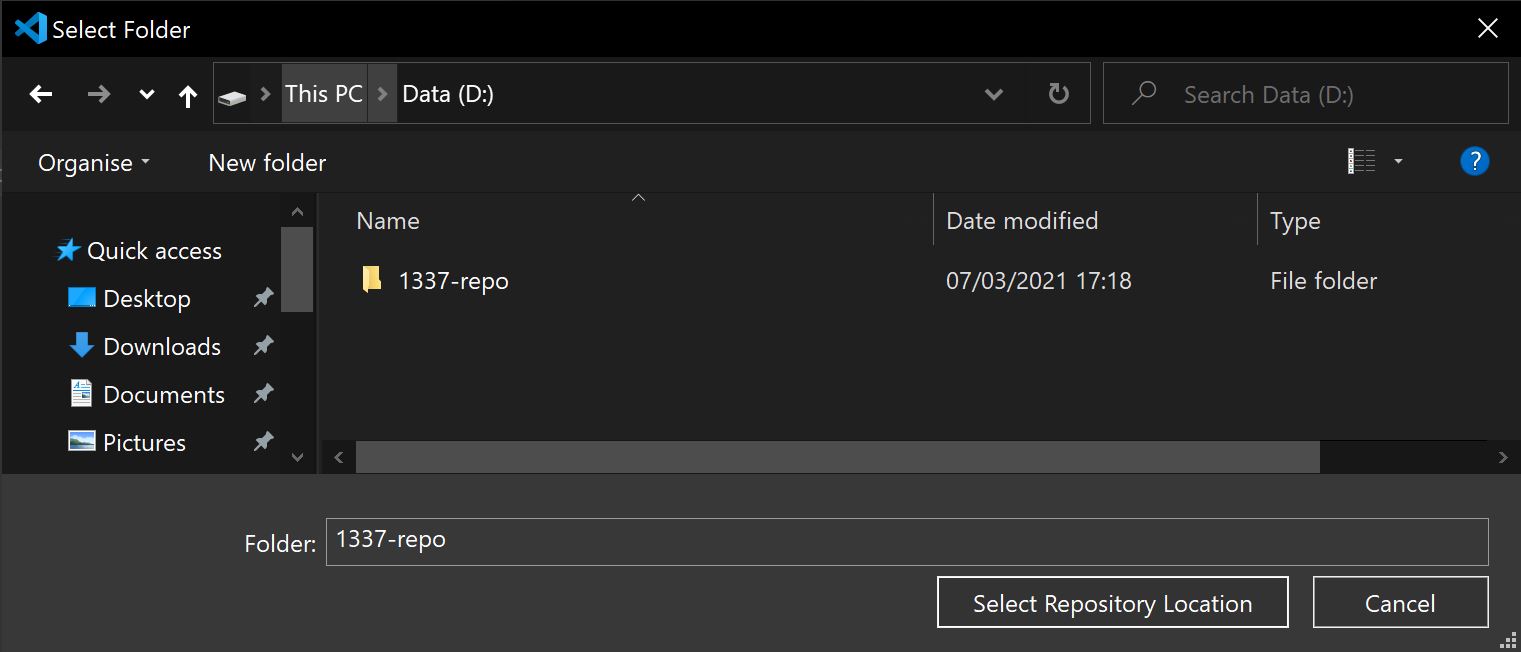
VS Code will open, and you'll be prompted to choose a folder to store the files. It's important to keep this location outside of any other file sync technology as GIT is going to handle this for us - make sure it's not in your OneDrive, and create a folder for the local copy of your Terraform files.
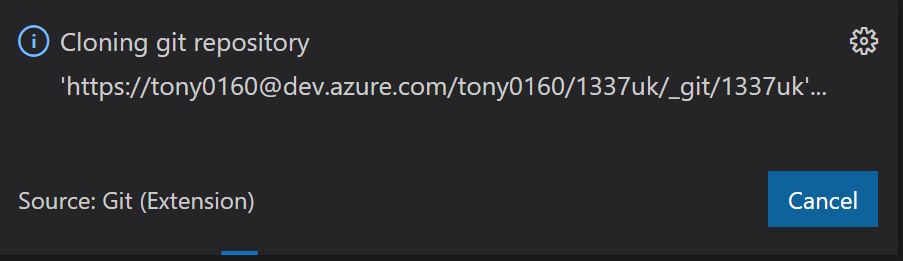
You'll see a popup in the bottom corner, advising you that the repo is being cloned.
And you may be prompted for authentication depeding on your configuration - enter your credentials if required and you'll be presented with a popup asking if you want to open the folder or add to workspace - click 'Add to Workspace'.

The repo will then be added to your VS Code , you'll have a local GIT copy and source control will be configured for that folder.
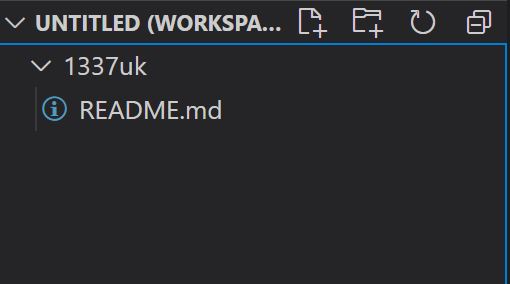
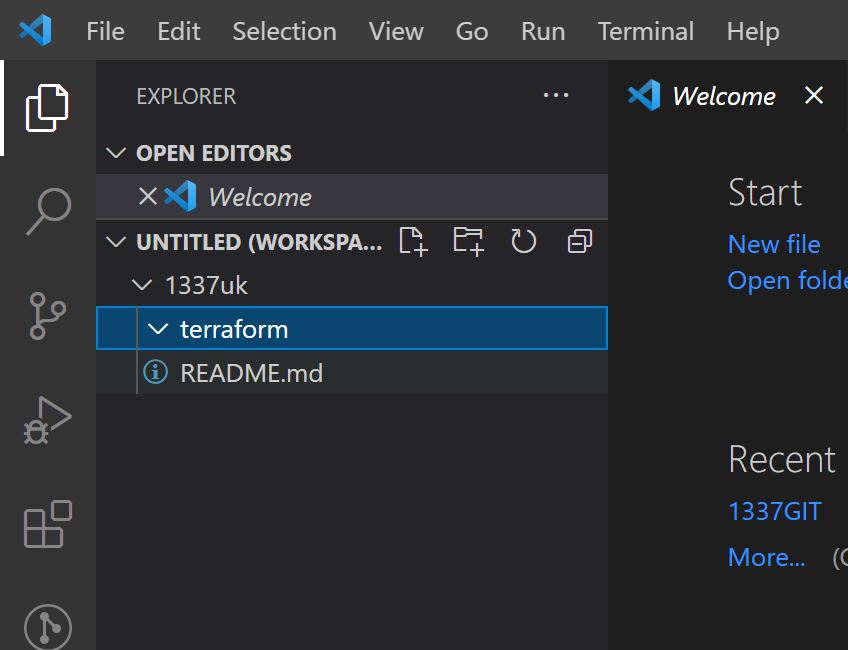
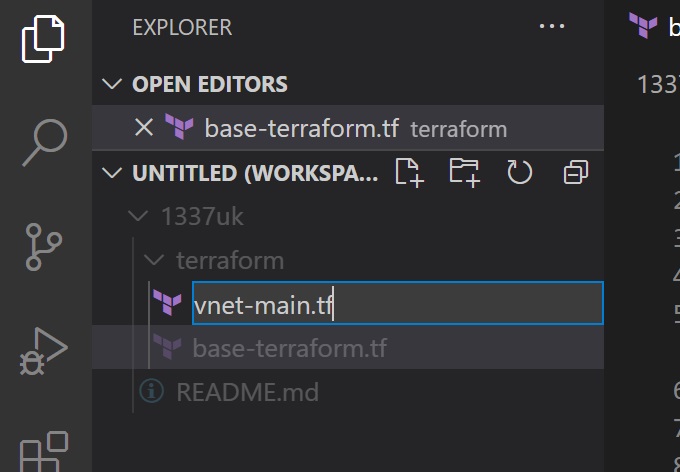
We need to create a folder for the terraform files, right click the root folder (1337uk in this case) and click 'New Folder'. Enter terraform as the folder name.
Right click the new terraform folder, and click create file. Call the file base-terraform.tf and paste the following contents to this file.
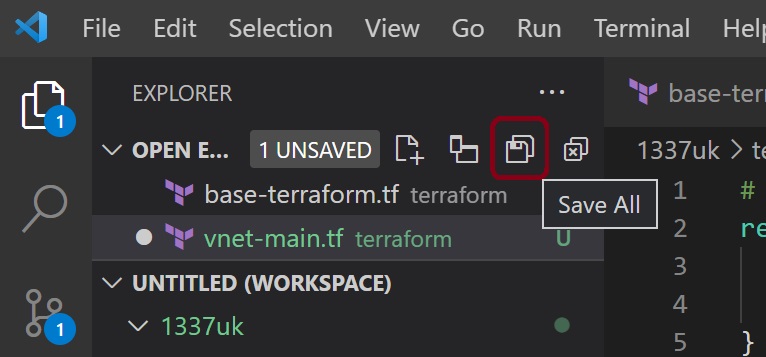
You'll notice there is a file save needed, so click on the save file icon
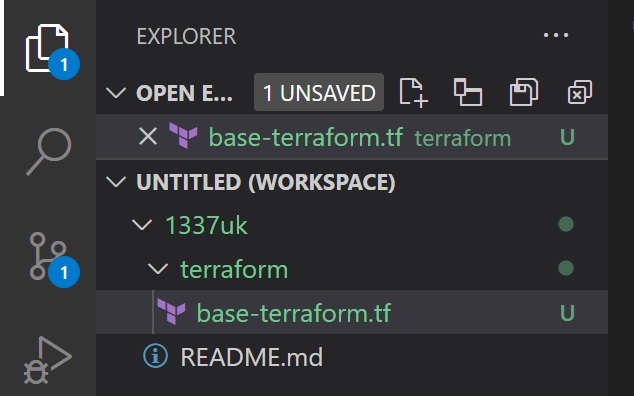
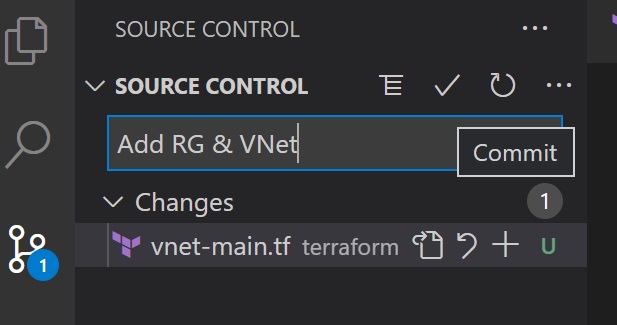
We then need to commit the change, click on the source control icon that has the number 1 next to it
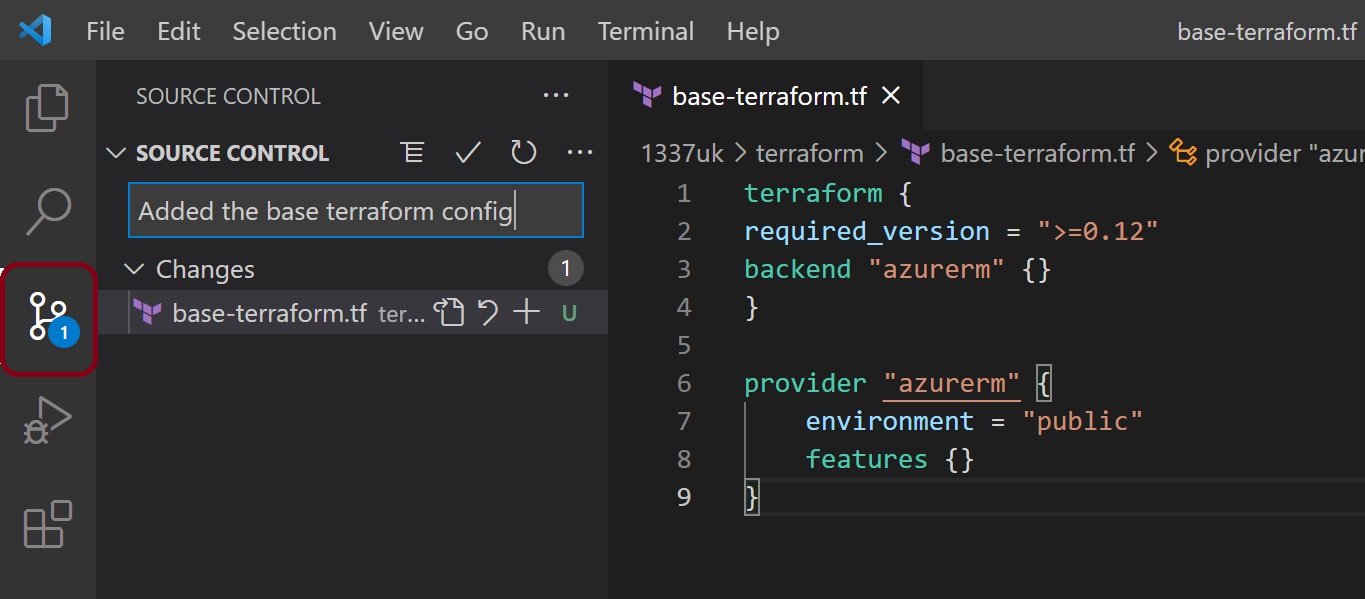
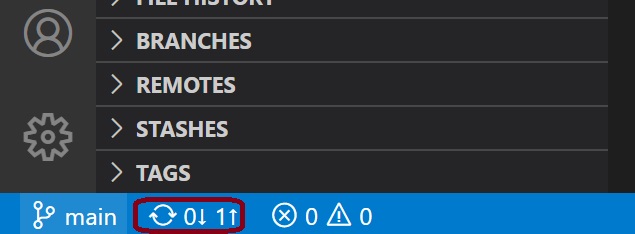
Type in a change description and click the tick. Finally - click on the push icon in the bottom left to push the single change to the DevOps repo.
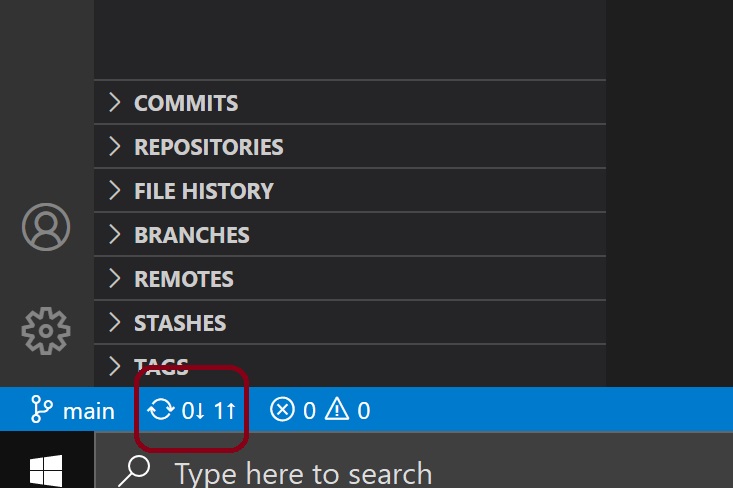
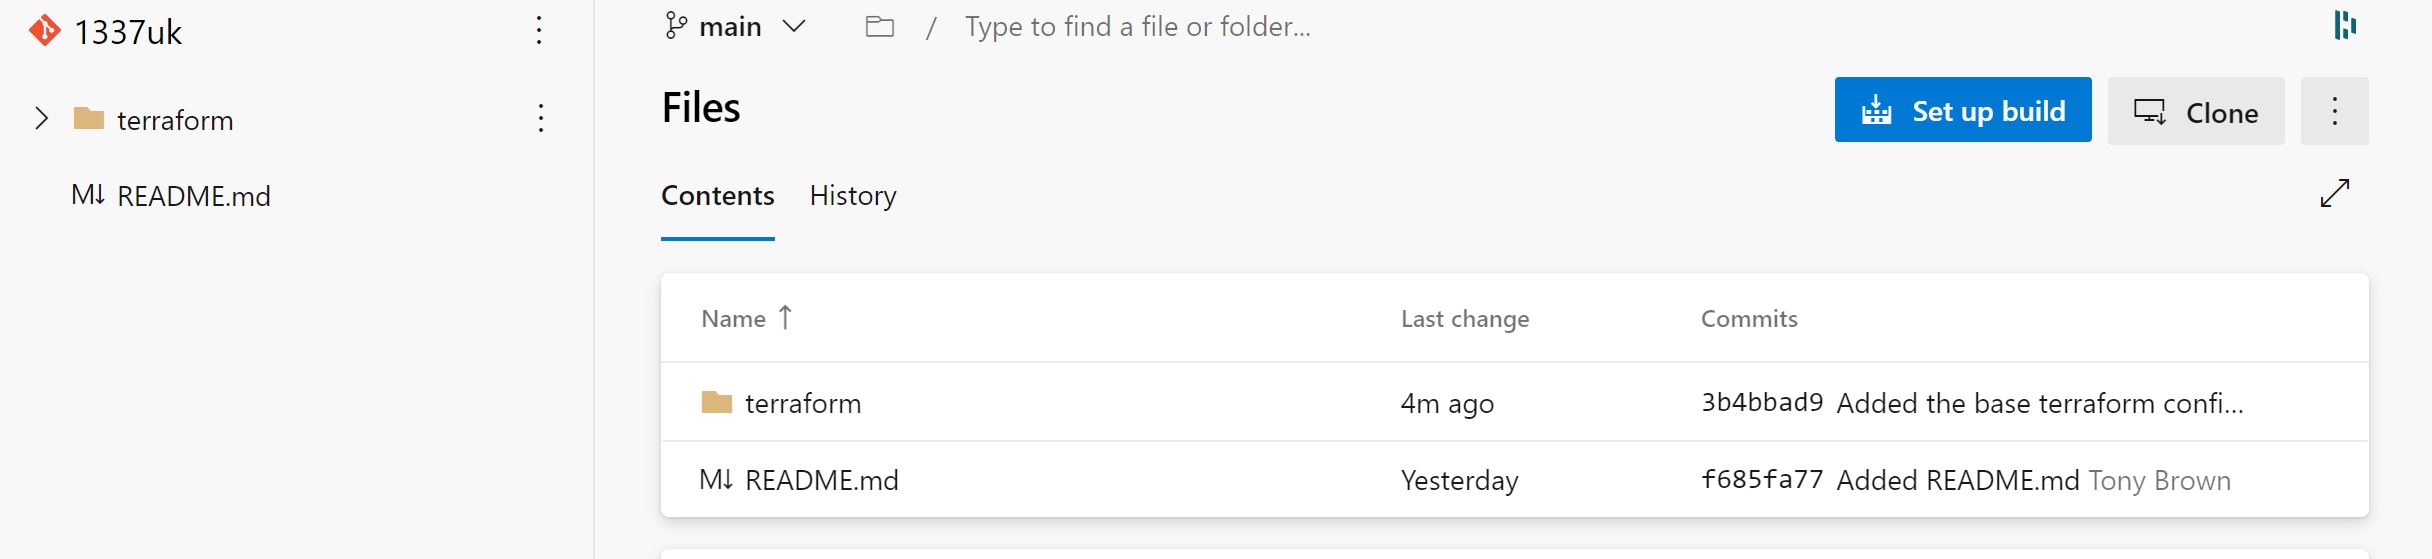
The circular arrow will spin for a little while, then stop spinning. Go back to your DevOps repo an you should see that there's now a terraform folder, with the change description added to the commits column.
We now have VS Code connected to the DevOps repo, with source control added.
Creating a Service Principal and a Client Secret
We now need to create a service account to give our DevOps environment permission to our Azure Subscription. We do this by creating a service principal so this authentication is secure, and not tied to any user based permissions or authentication.
We're going to create this using the cloud shell inside VS Code, we could do this from the cloud shell that's part of the Azure portal but I prefer to keep all config inside VS code where possible.
Inside VS Code - press F1 and type 'Sign in to cloud shell' and click on the line item. You will be prompted to authenticate;

Sign-in to as directed, you may be prompted to create a storage account for cloud shell files if you haven't done this before. If prompted, select Bash as your environment and click to create storage.
You'll then see the bottom section of the main window is now an Azure bash shell;

We need the subscription ID of your Azure subscription to use in the service principal creation command - type the following to list your subscriptions;
You'll see output like this.

I have two subscriptions, and if you have more than one, you'll need to set the subscription you want to target - do this by typing the following command;
If the command is successful, you'll just see a blank carriage return. We create the service principal by running the following command;
You'll see something similar to the following output - we need to capture some of these details and enter them in DevOps so the Terraform release pipeline can connect.

Copy the output to notepad as we'll need these values when setting up the service principal connection in DevOps.
We now need to create the storage account and container for the Terraform state file, we also do this in the cloud shell directly in VS Code. Run the following commands in the cloud shell, one-by-one - replacing the resoure group name, storage account name & location as required. We're using a random generator for some digits in the storage account, you might get unlucky running the second line, if you do - just press up arrow and try again until is passes. This example will create the resources in UK South, and keep the names pretty generic. It's probably best keeping the name of the terraform state container as 'tstate'.
In each step, you should see valid JSON output, and you'll have a storage account and container created in Azure. The last line will produce something like the below - make a note of this storage account and access key in the same location as the other variables.

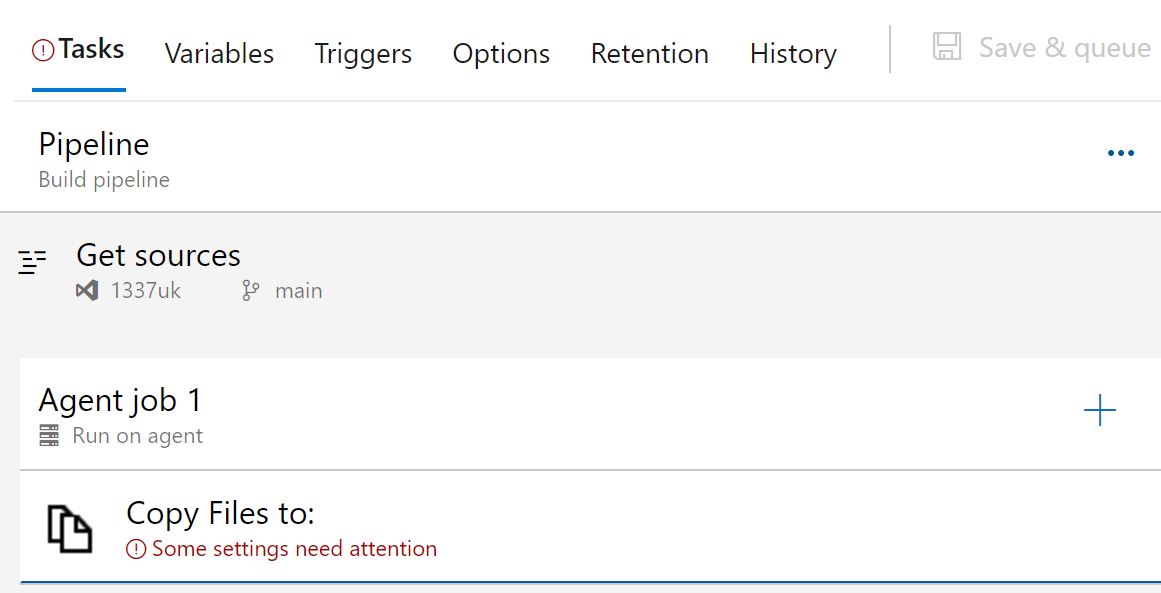
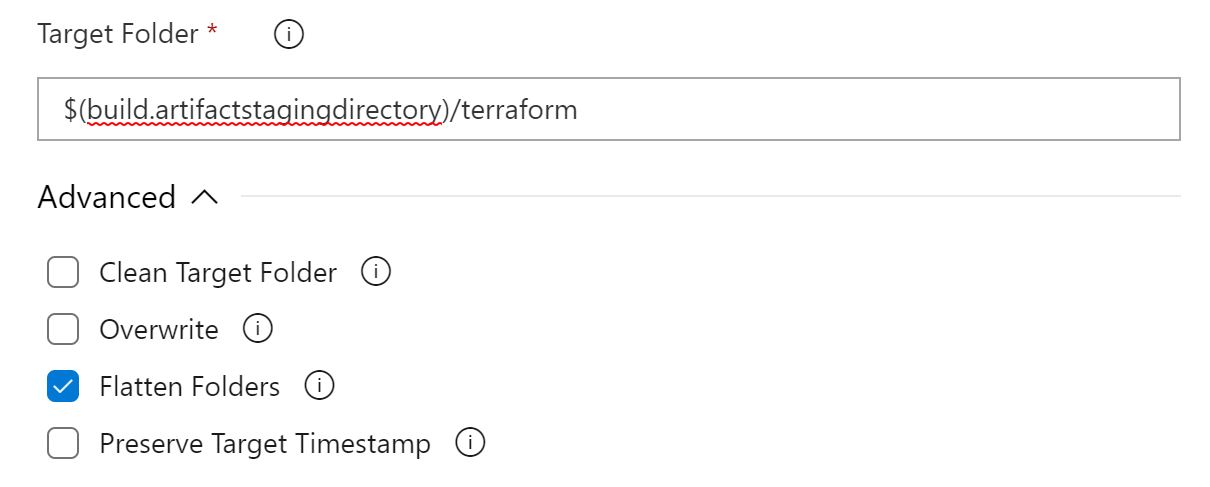
click on the advanced drop down, and select 'Flatten Folders'. This will ensure that when we create different folders inside VS Code for organisation of our source files, they will all still get executed.
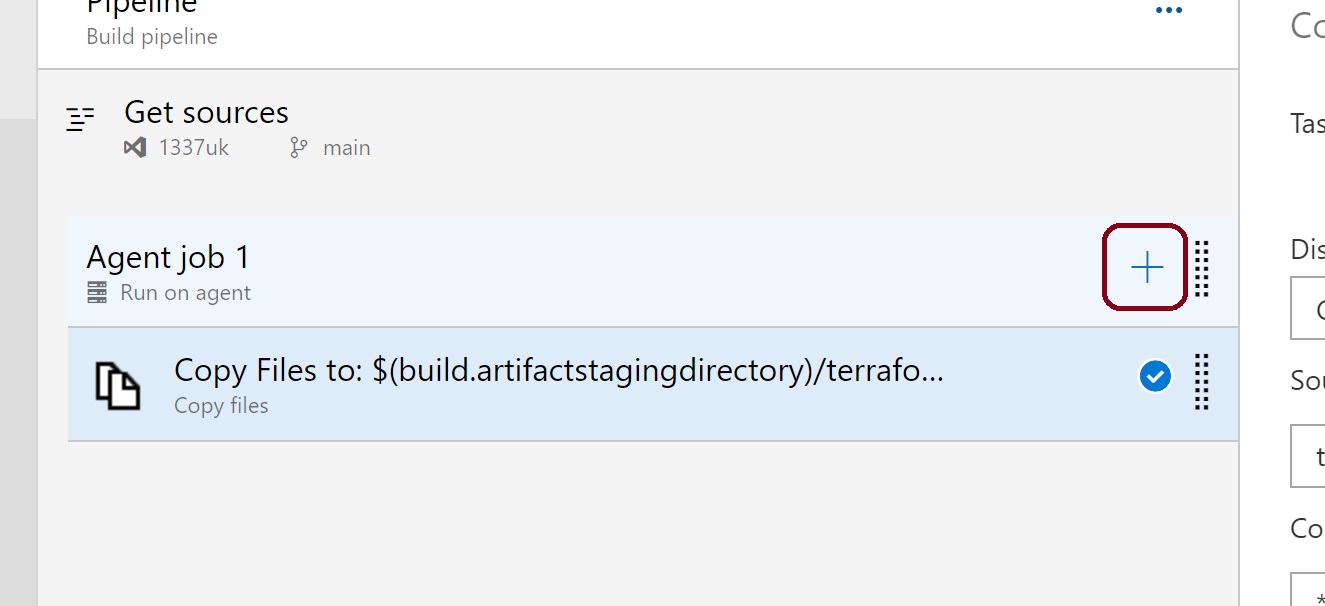
We now need to publish these files to the pipeline, and enable continuous integration. This will mean that whenever a change is pushed to the repo from VS Code, the pipeline will run. Click on the + sign again in the pipeline window
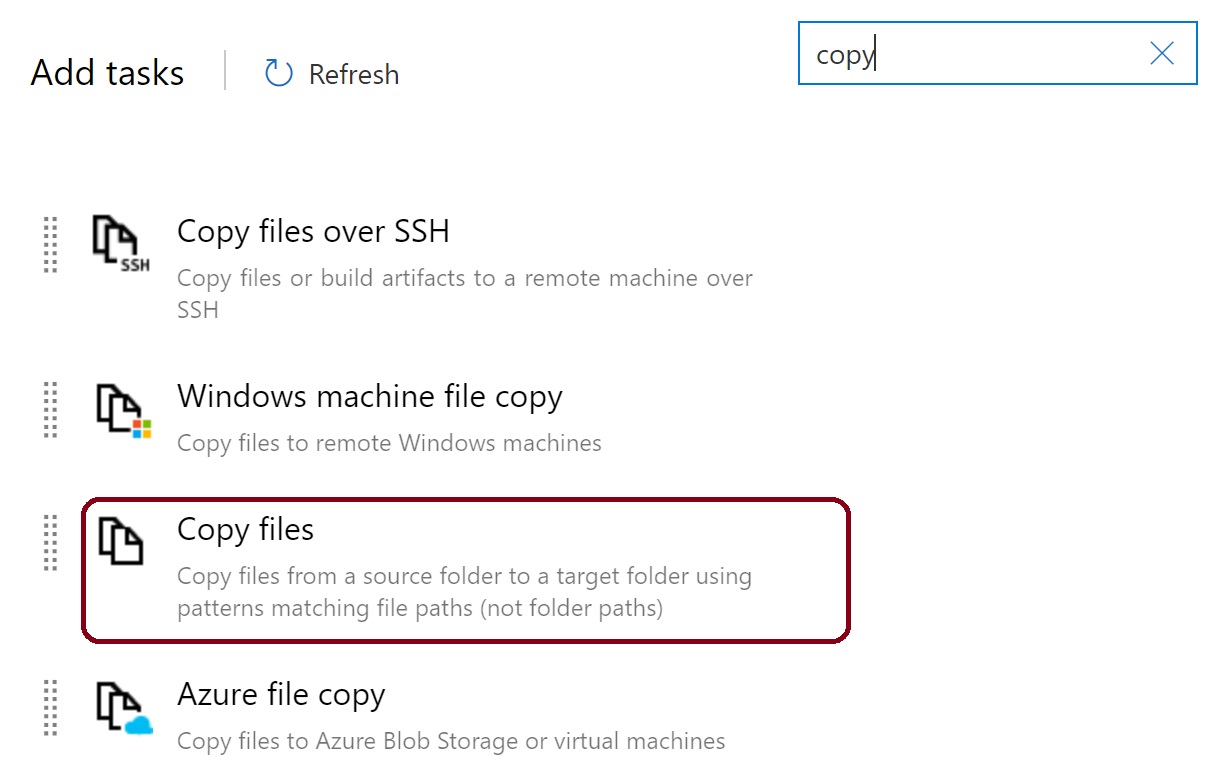
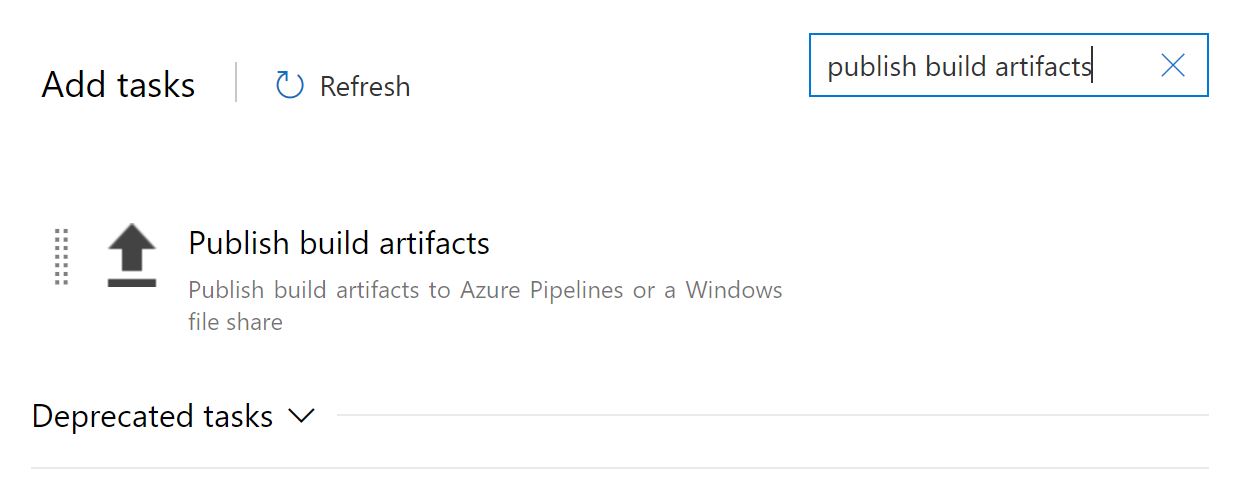
Type in the search box 'publish build artifacts' or scroll down and find it from the list and click add.
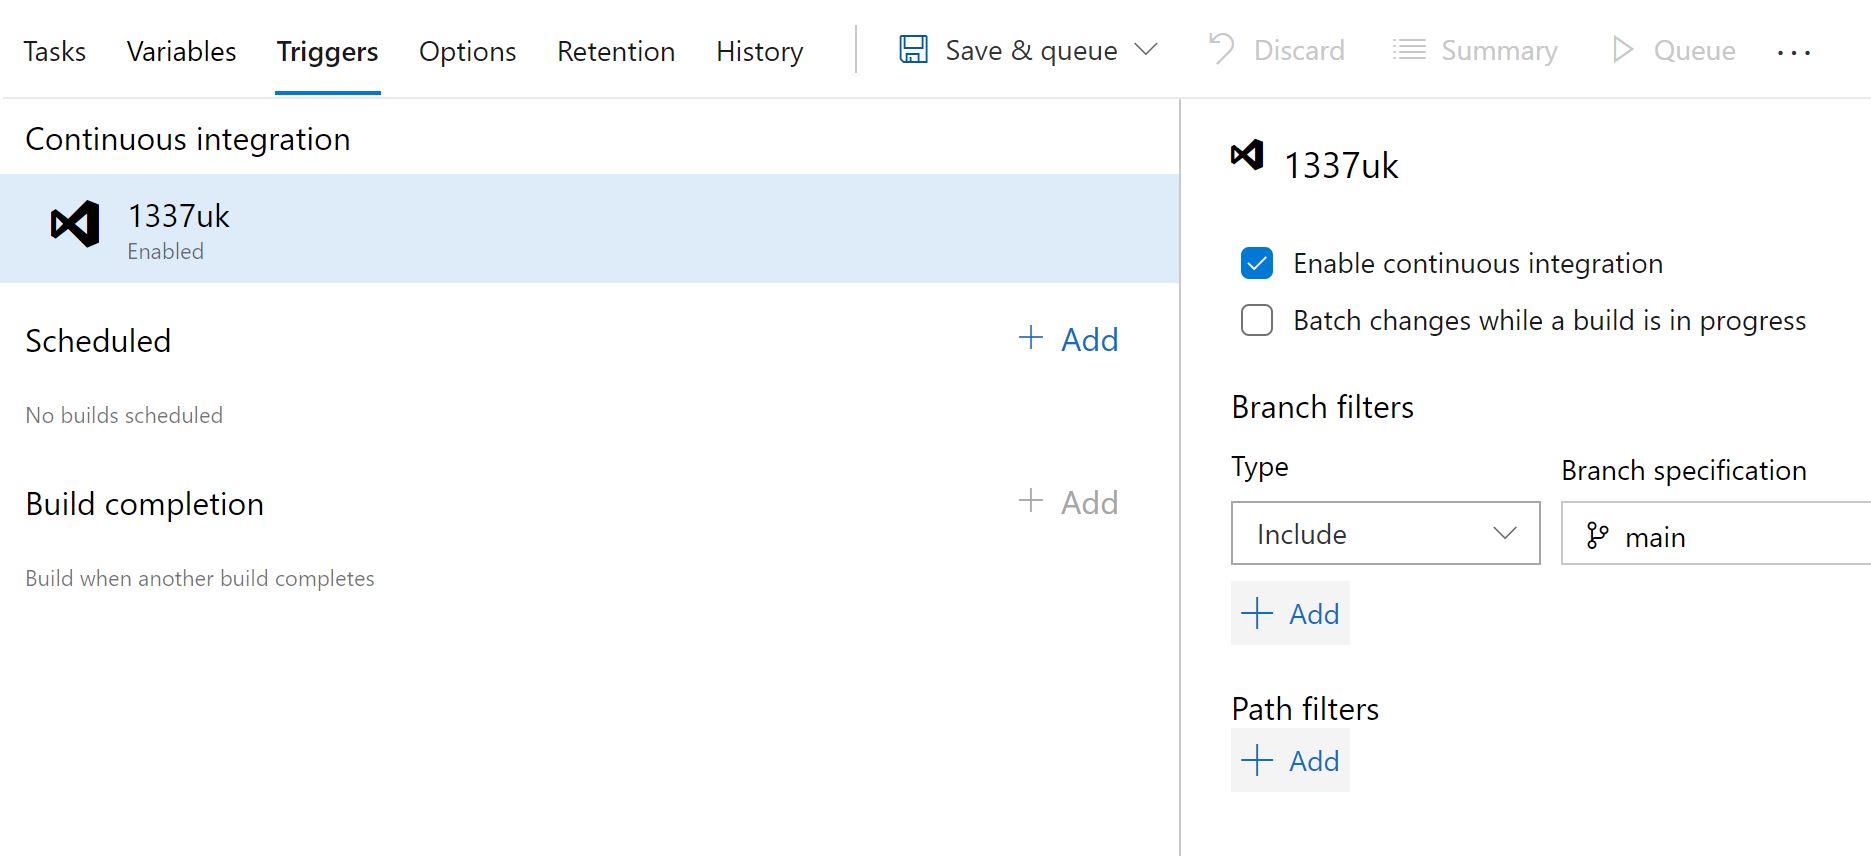
Leave the right pane as defaults, but click on the 'triggers' in the left pane, and check the box next to 'Enable continuous integration'.
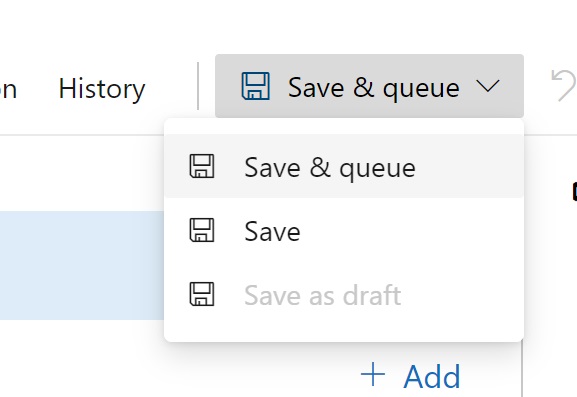
Click 'Save & queue' at the top, then to save our tasks.
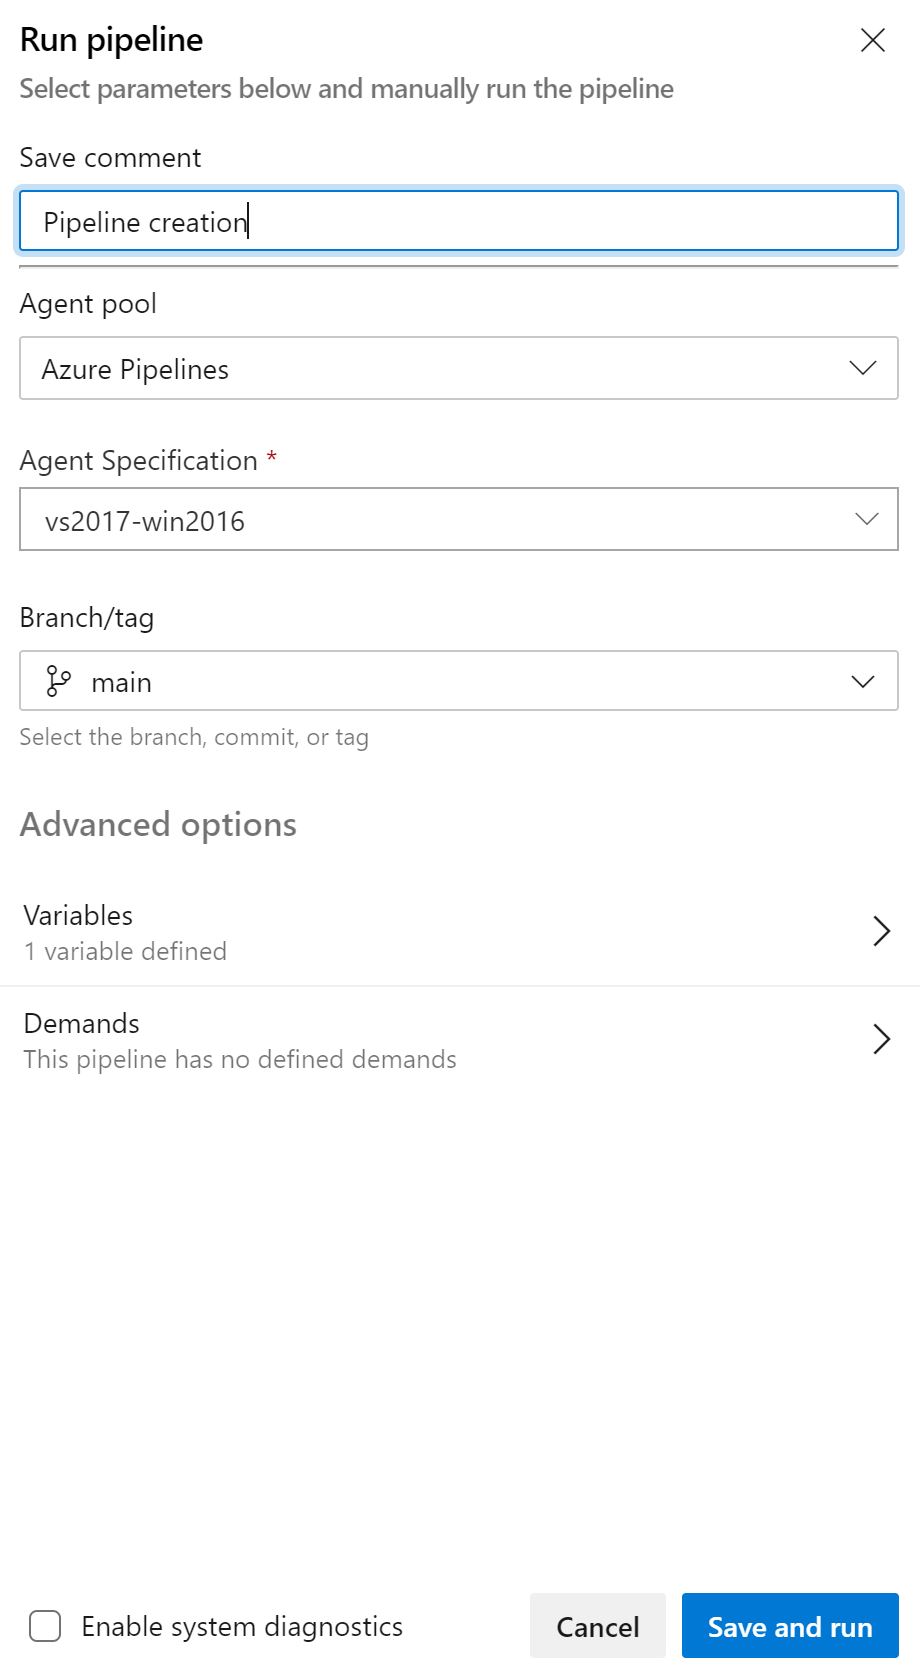
When the window appears, enter 'pipeline creation' as a comment and click Save and Run.
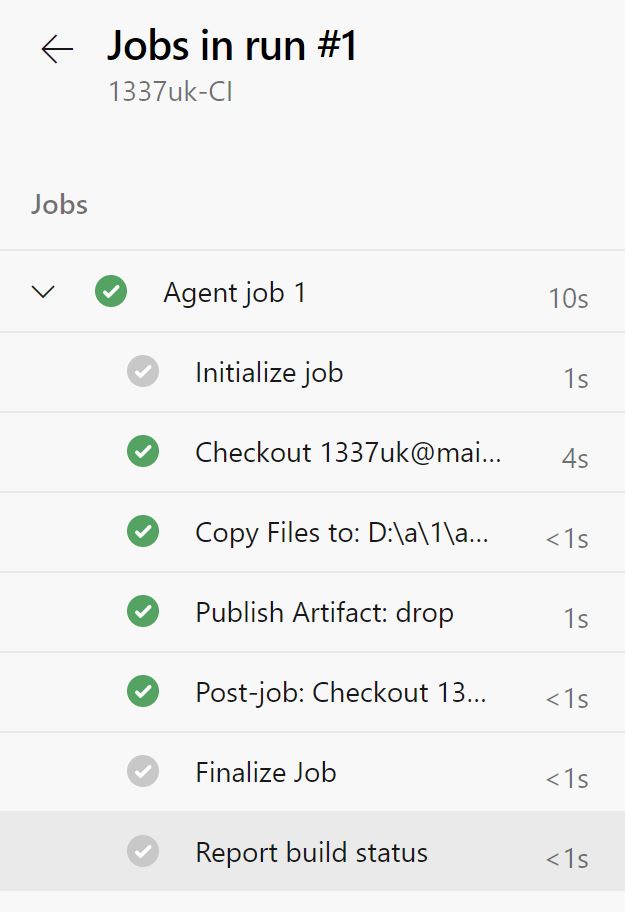
The job will queue and run, and you should see output as below when you click on the successfully completed task.
We now have our continuous integration pipeline configured, we need to now configure our continuous development release pipeline. As the earlier diagram showed, we're going to have a two phase release pipeline. A terraform plan, then an approval, finally a terraform apply. Terraform is supported out of the box on azure cloud shell but we need an extension to ease configuration in the release pipeline, so we'll be using the Terraform tasks extension by Charles Zipp.
Click here: Azure Pipelines Terraform Tasks - Visual Studio Marketplace then click 'Get it free' when the page loads.
Select your DevOps organisation and lcik
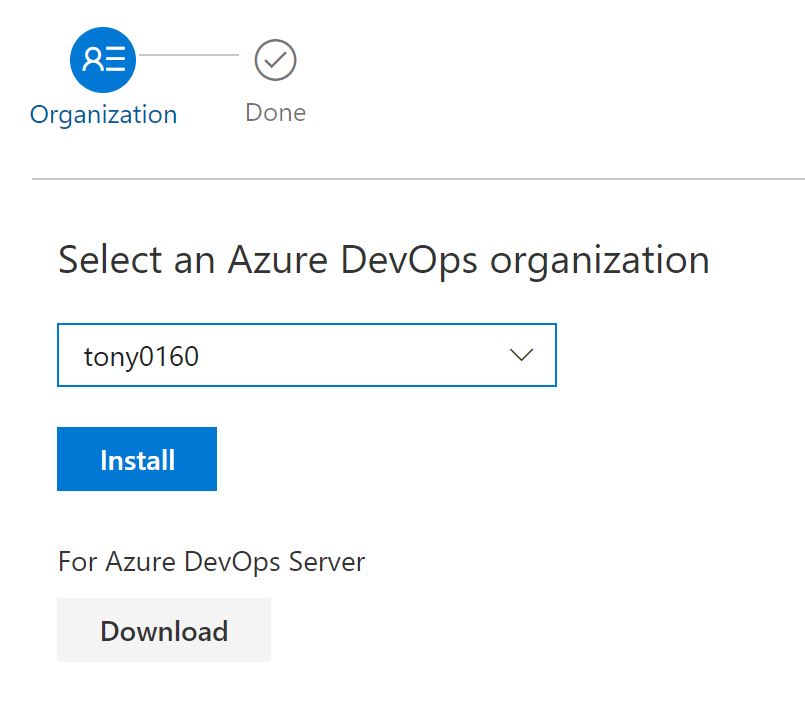
The extensions will be added - you can now close this window.
We'll create the plan pipeline first, with the require terraform plan tasks, then copy this phase and change the tasks to be a Terraform apply.
There are a few tasks required for each phase, they're made up of the following tasks;
Terraform Plan
1.Install Terraform
2.Initialize Terraform
3.Validate Terraform Config
4.Plan Terraform Changes
Terraform Apply
1. Install Terraform
2. Initialize Terraform
3. Apply Terraform
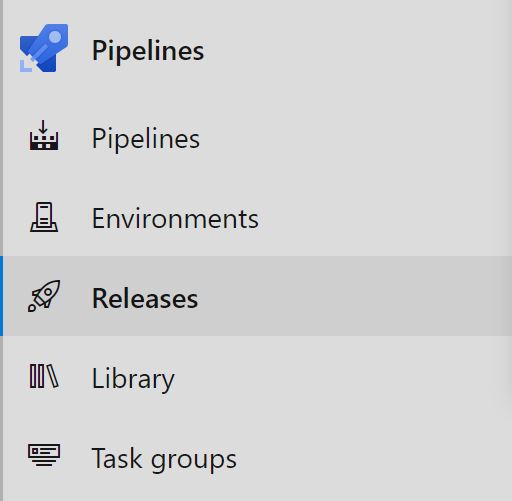
Click on the releases section, underneath the Pipelines heading and click on the 'New pipeline'.
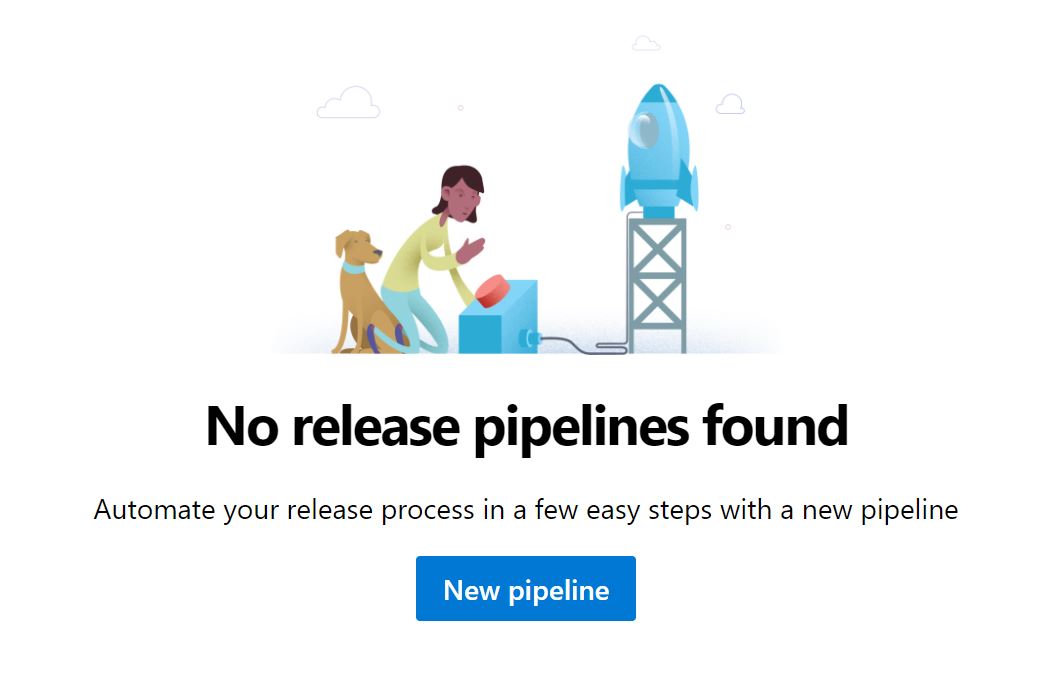
Click on 'start with an Empty job' at the top again.
![]()
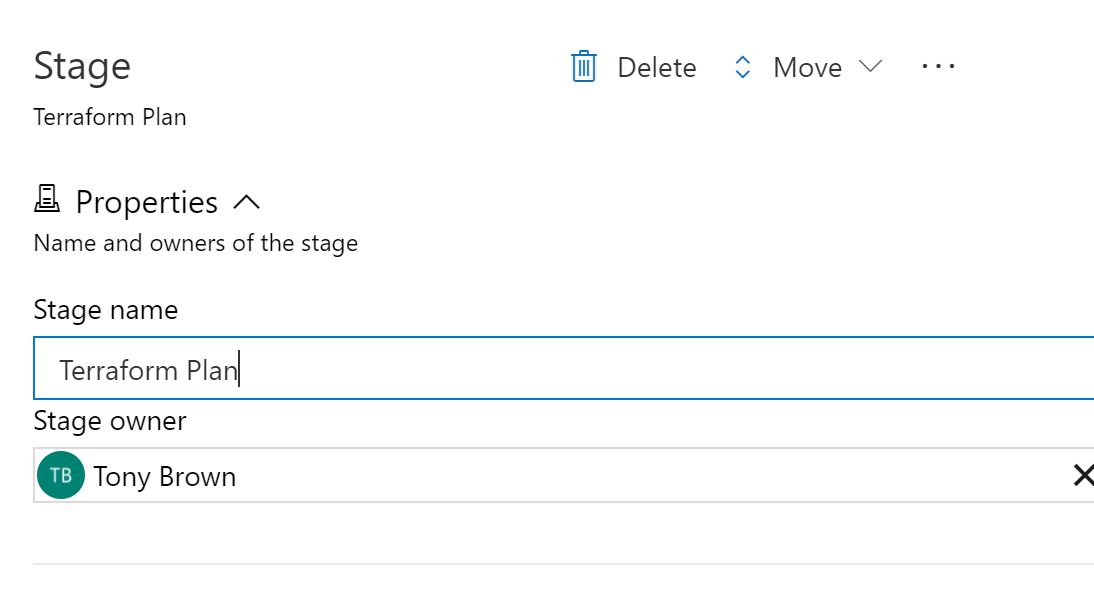
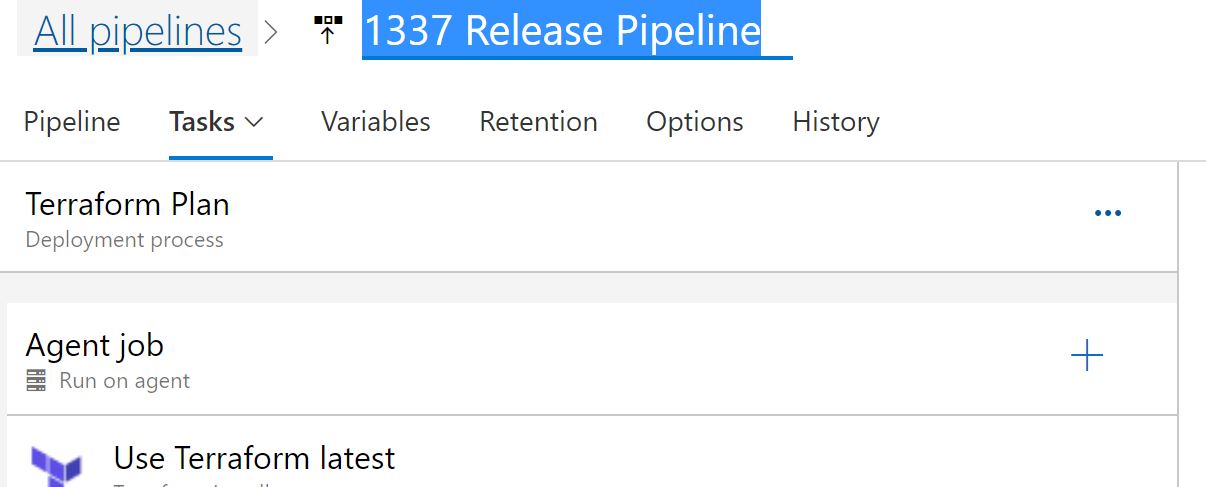
Name the phase 'Terraform Plan' then close the left pane.
To make the copied Terraform source files available to the release pipeline, we need to create the artifact. Click on 'Add an artifact'.
Select your source build pipeline and it should look like the below;

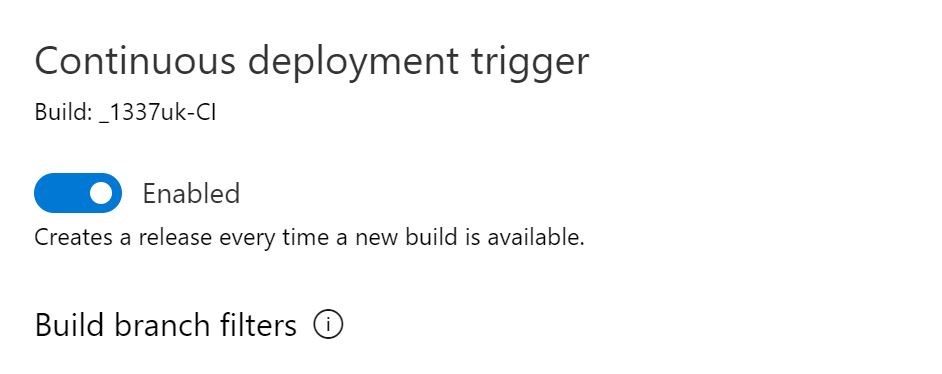
Click 'Add' and click on the continuous deployment trigger.
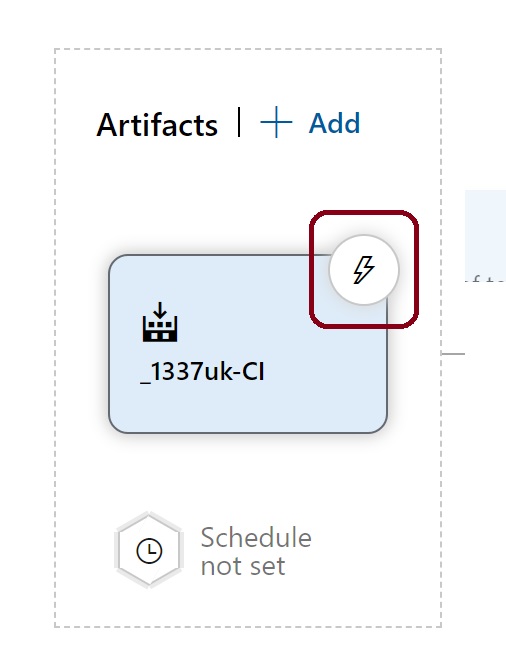
Slide the continuous deployment trigger to enabled.
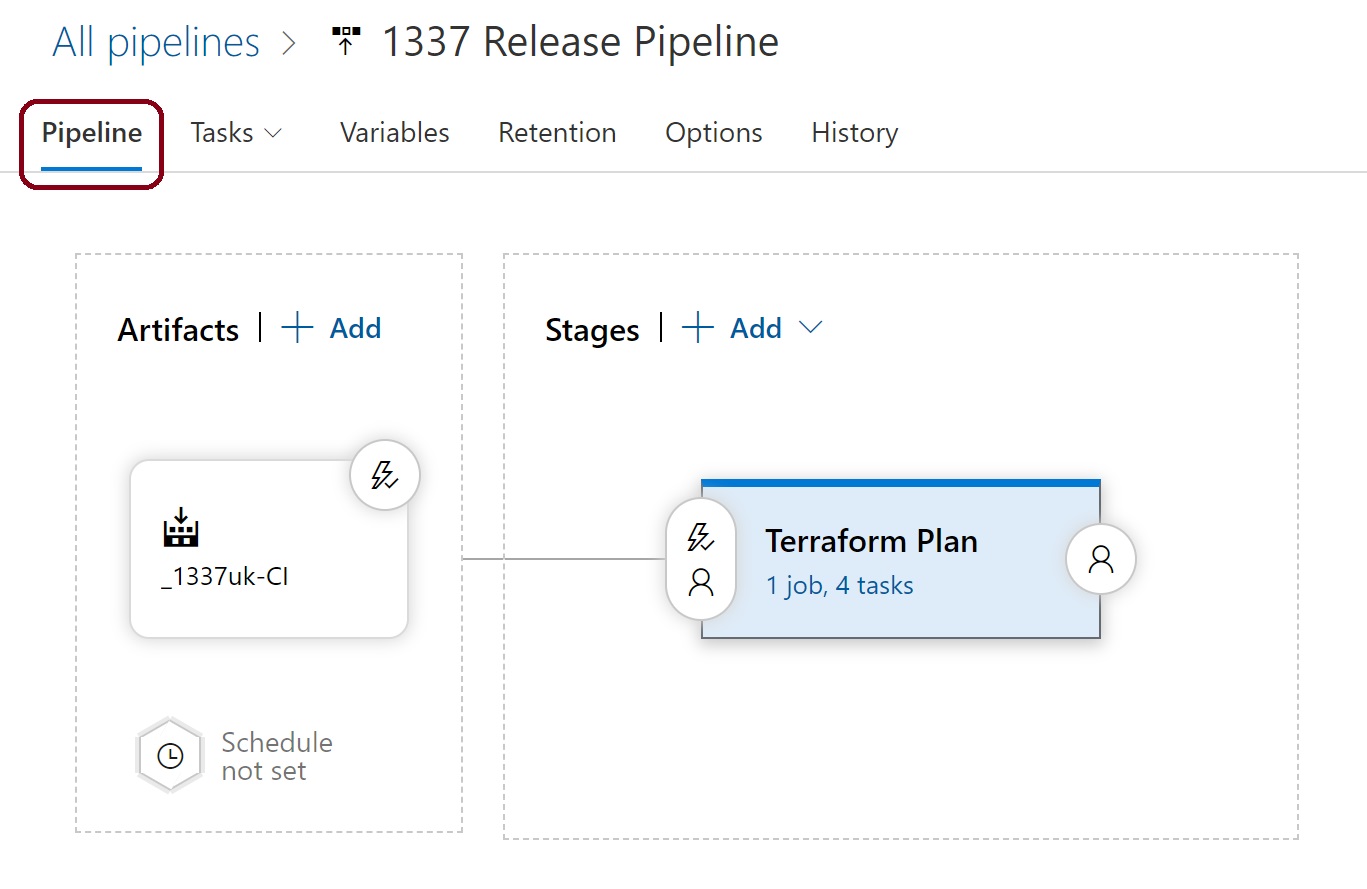
Close the artifact window and go back to the stages pane. Click on the linked text '1 job, 0 task'
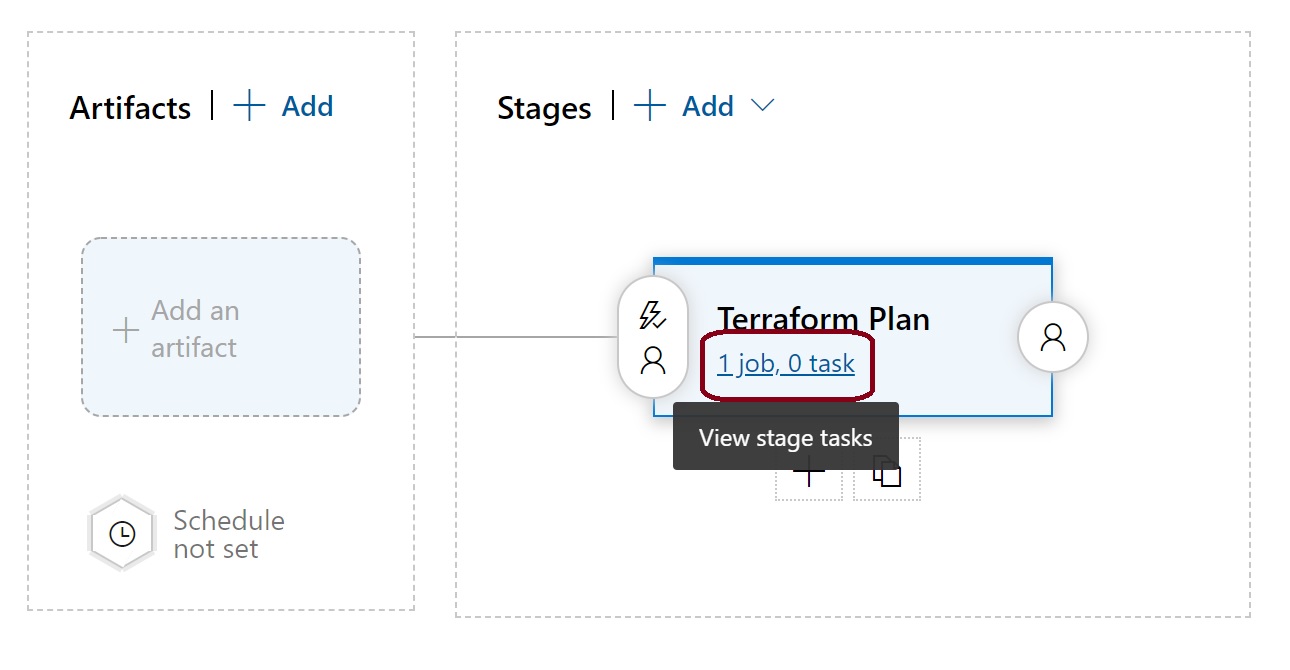
You'll be presented with the release pipeline which looks similar to the CI pipeline we configured earlier.
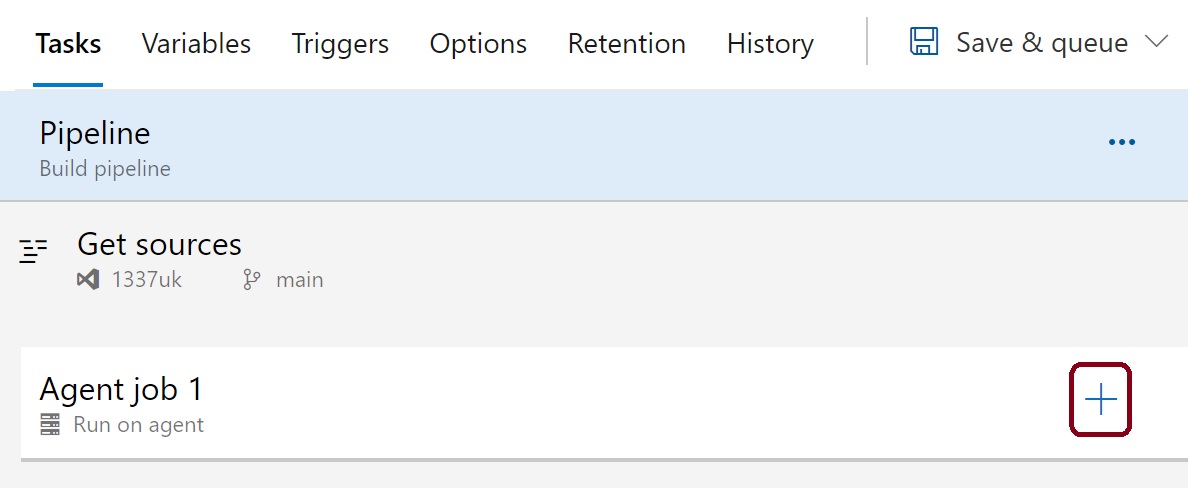
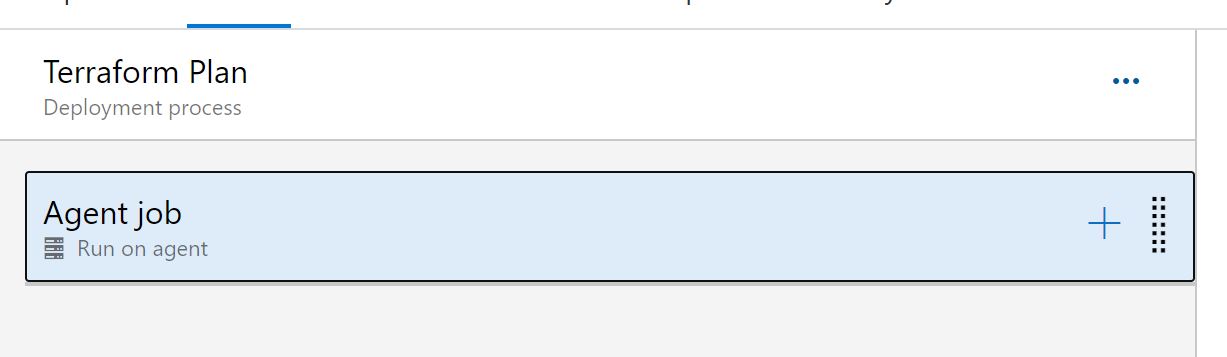
Click on the + sign to add an agent job.
Enter 'terraform' in the search filter box, and click 'Add' on the terraform installer task.
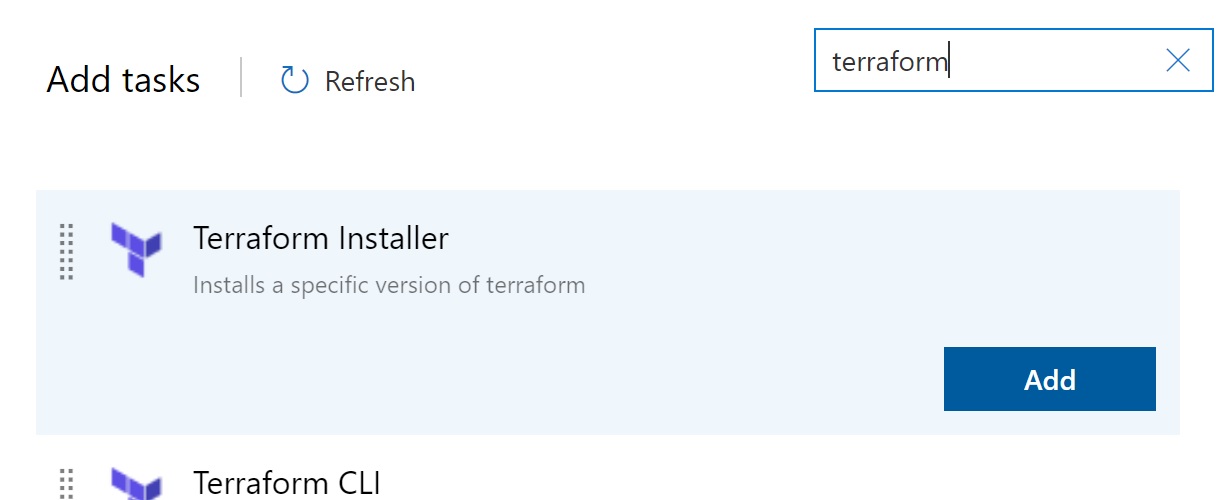
Hover over the 'Terraform CLI' task and click Add. Your tasks should look like the below.

Click on the 'terraform validate' task, and a right pane will open.
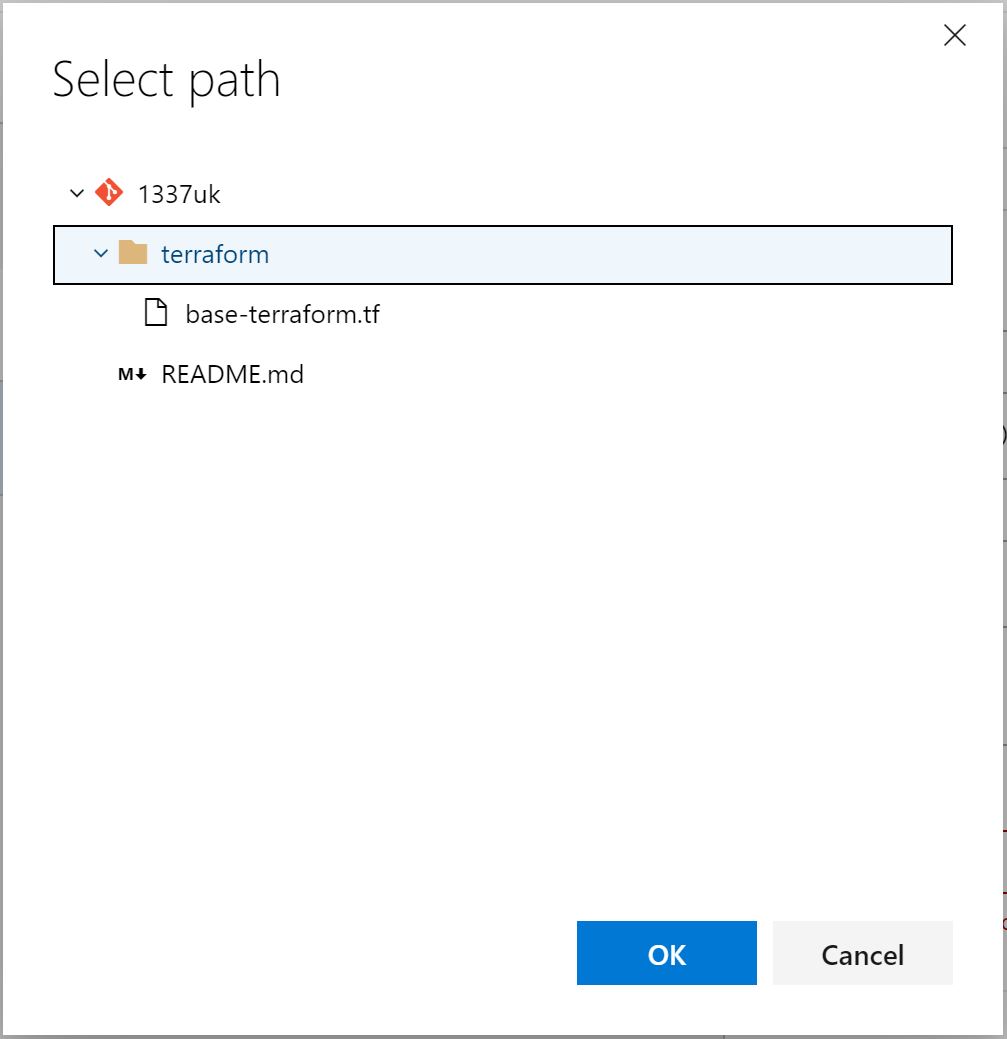
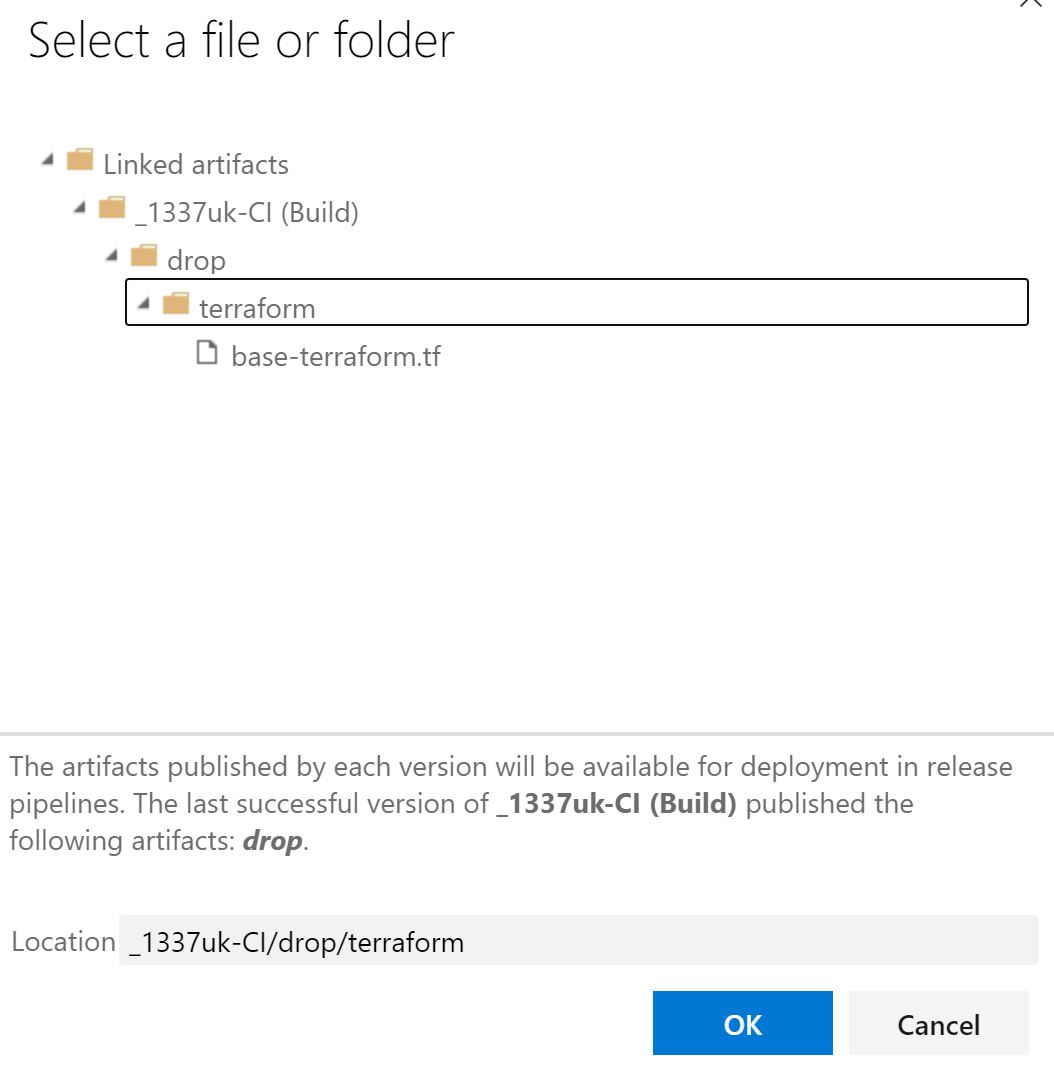
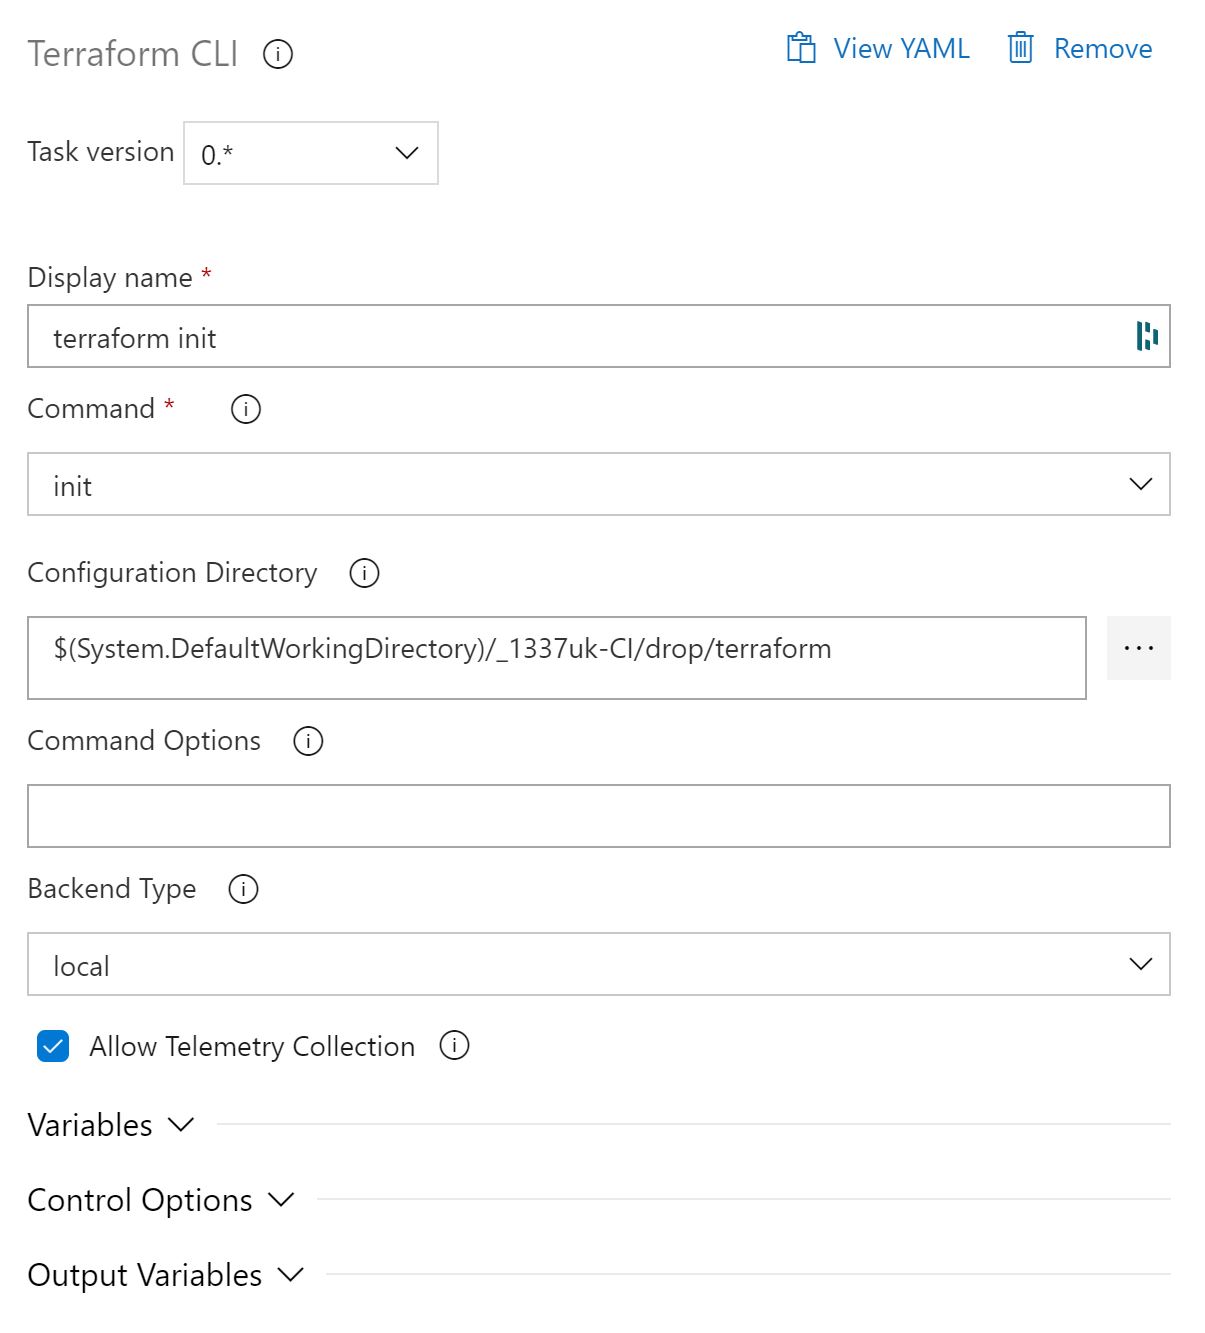
Change the display name to 'terraform init' - change the command to 'init' and click on the three dots next to 'configuration directory'. Choose the 'terraform' subfolder of the artifact folder path and click OK.
Your task should look like the below image.
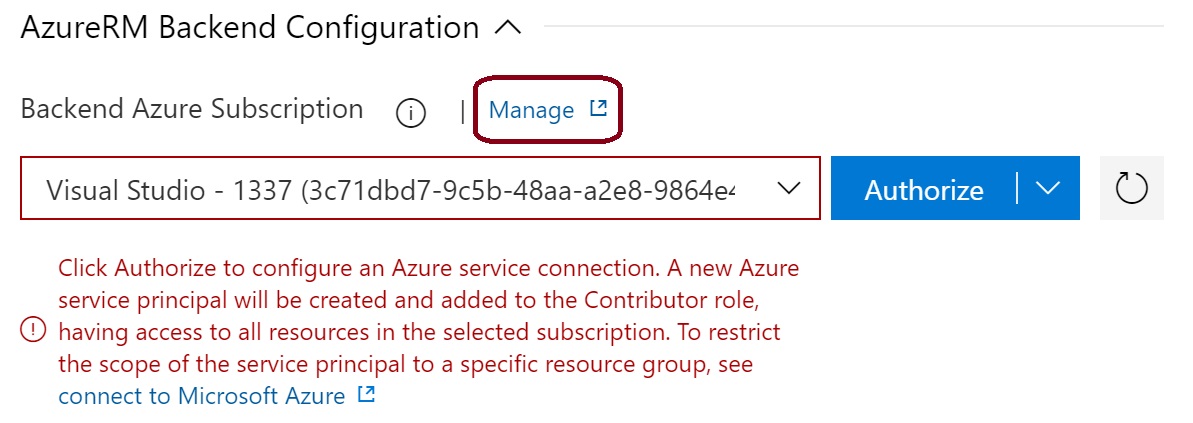
Expand the backend type and select Azure RM, then expand the Azure RM Configuration.
Ignore the 'authorize' button and click on 'manage'.
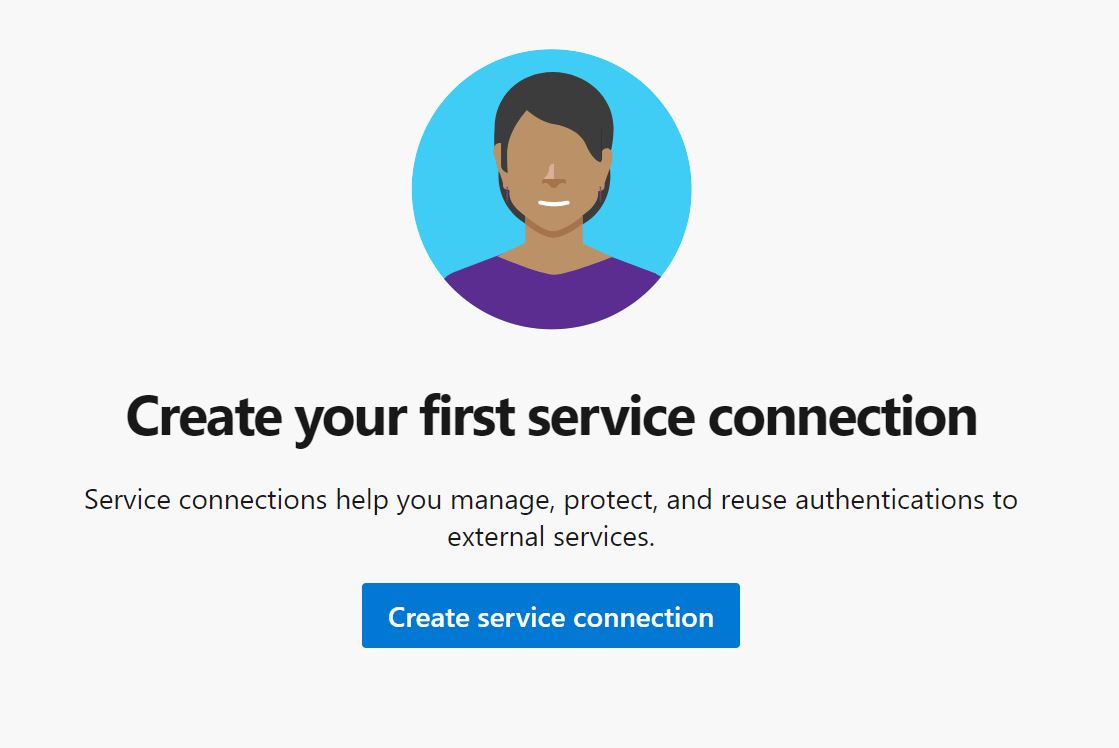
The Service Connection window is displayed - click to create your first service connection.
Click Azure Resource Manager and click 'next'.
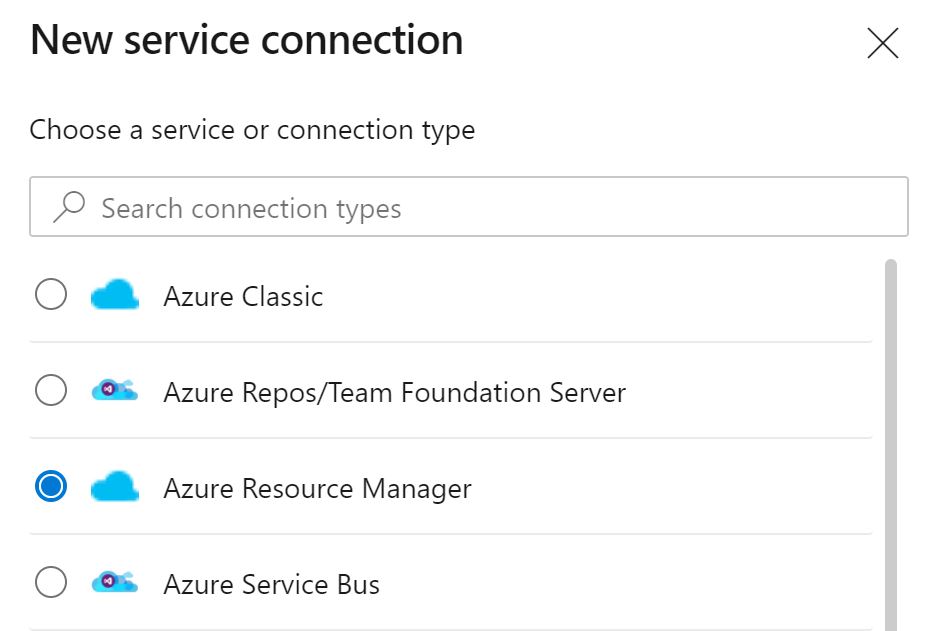
Select 'service principal manual' from the list.

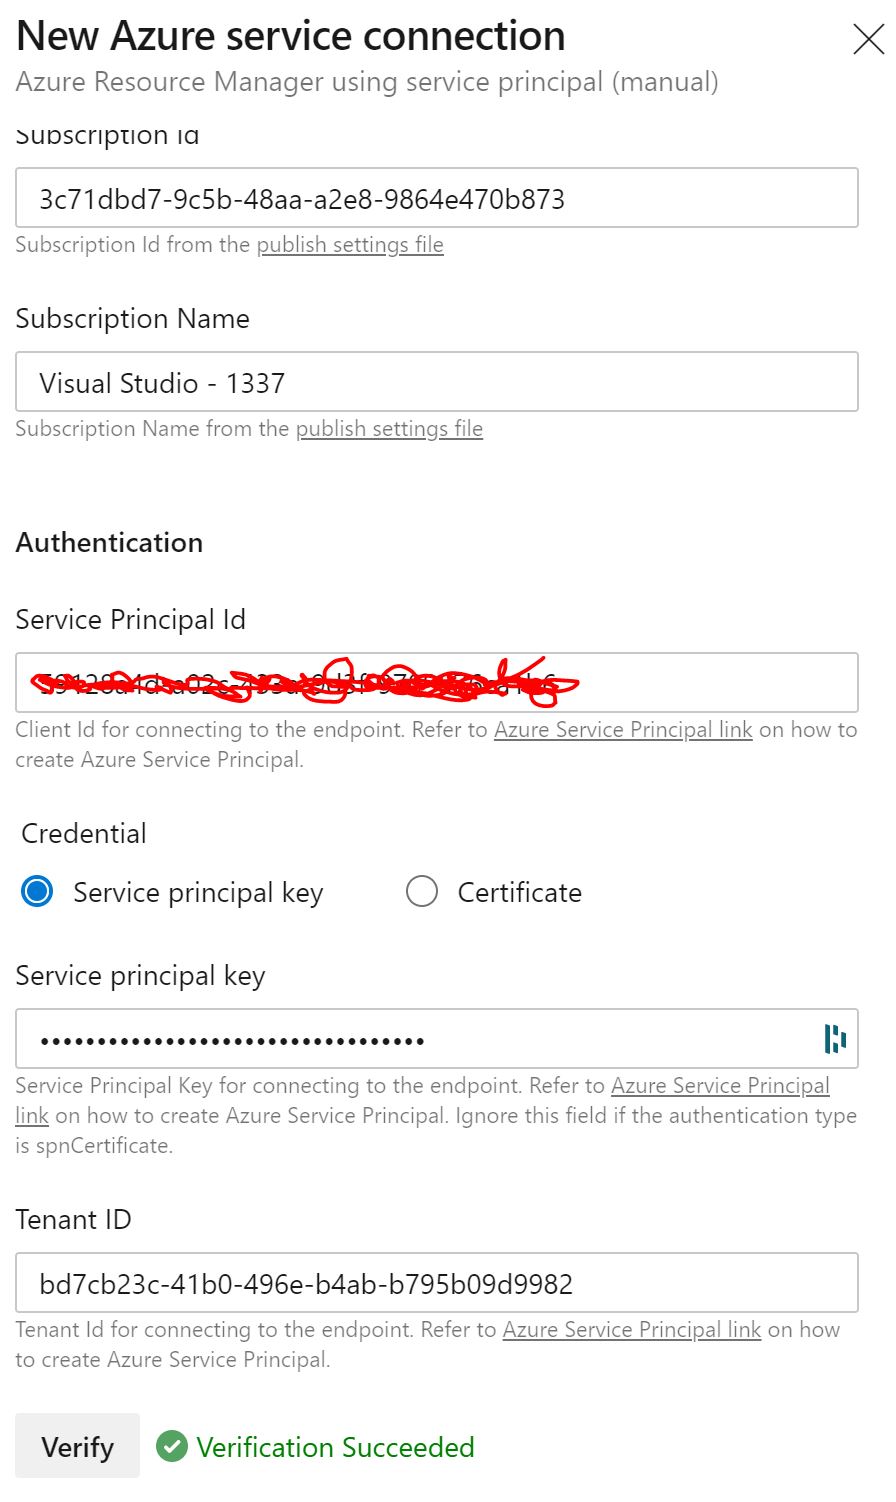
You'll be presented with a service connection details page - enter the details that were gathered in the first step.
Click 'verify' and make sure it's successful. If you've lost any of these variables - go into App Registrations in your Azure Active Directory section of your tenant to confirm and re-create a secret if you need to.
Scroll down and give your Service Principal a name and click 'Verify and Save'.
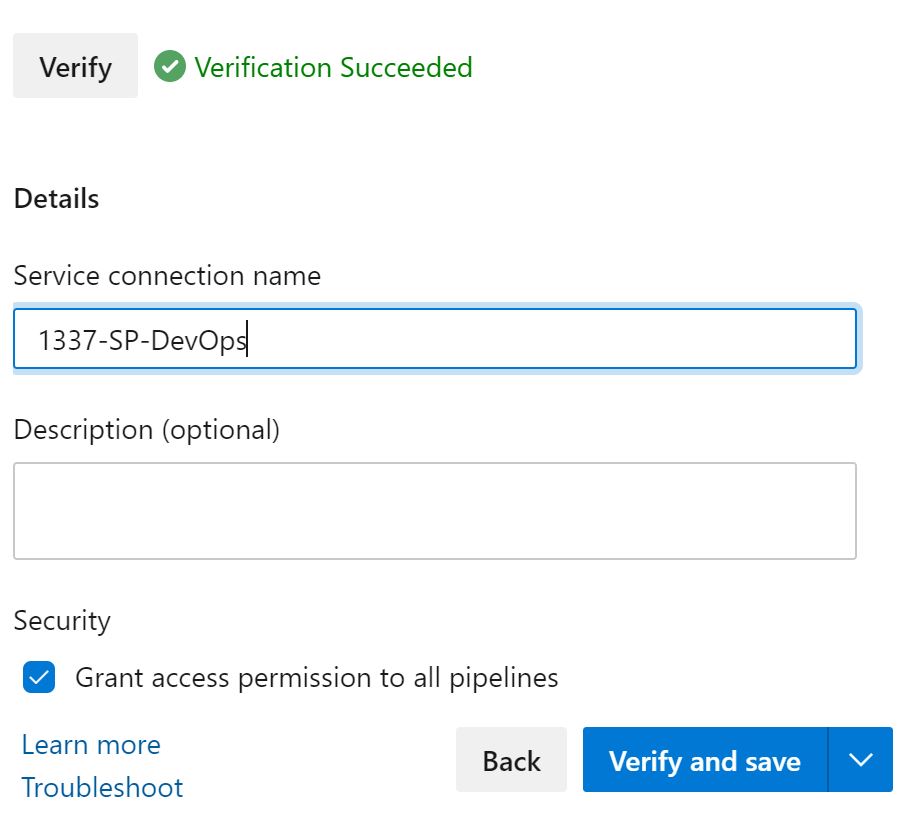
And your Service Principal will be saved.
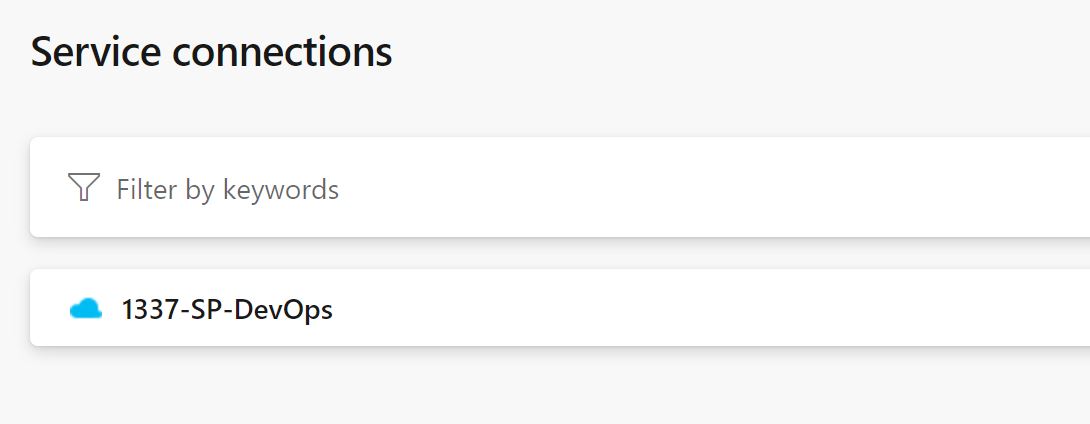
Go back to your DevOps Pipeline window and click refresh - you'll see a new Service Principal is avaiable, select this new SP.

Check the box to Create a backend if it does not exist, Enter the resource group name, storage account name, container name & storage account key from the first step. The key is the actual name of the Terraform state file.

Click in the pipeline name box and name it something meaningful and click save in the top right and accept the default folder.
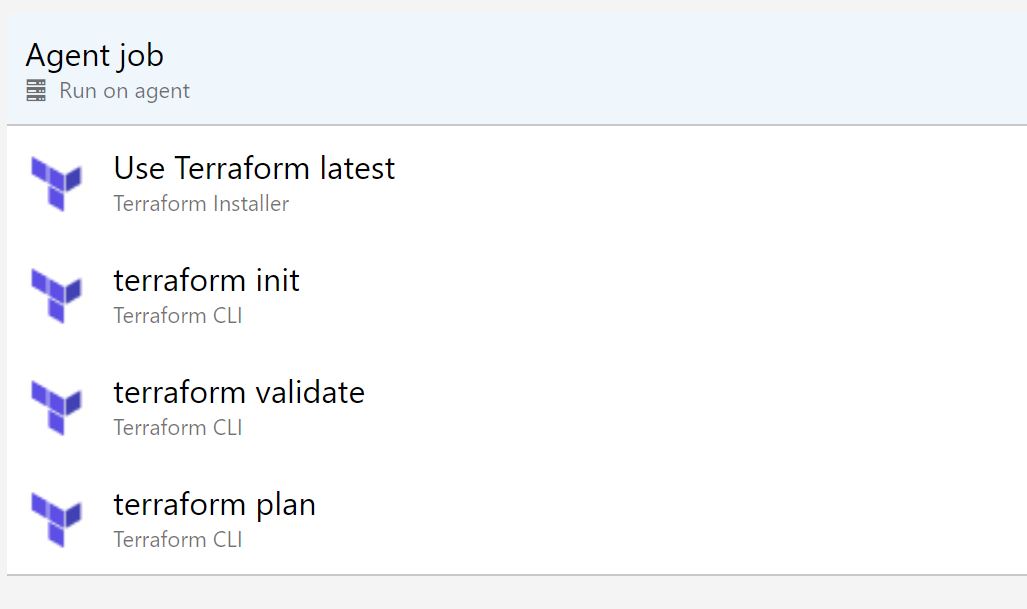
We now need to configure the rest of the tasks and stages, right click on the terraform init task and clone it twice.
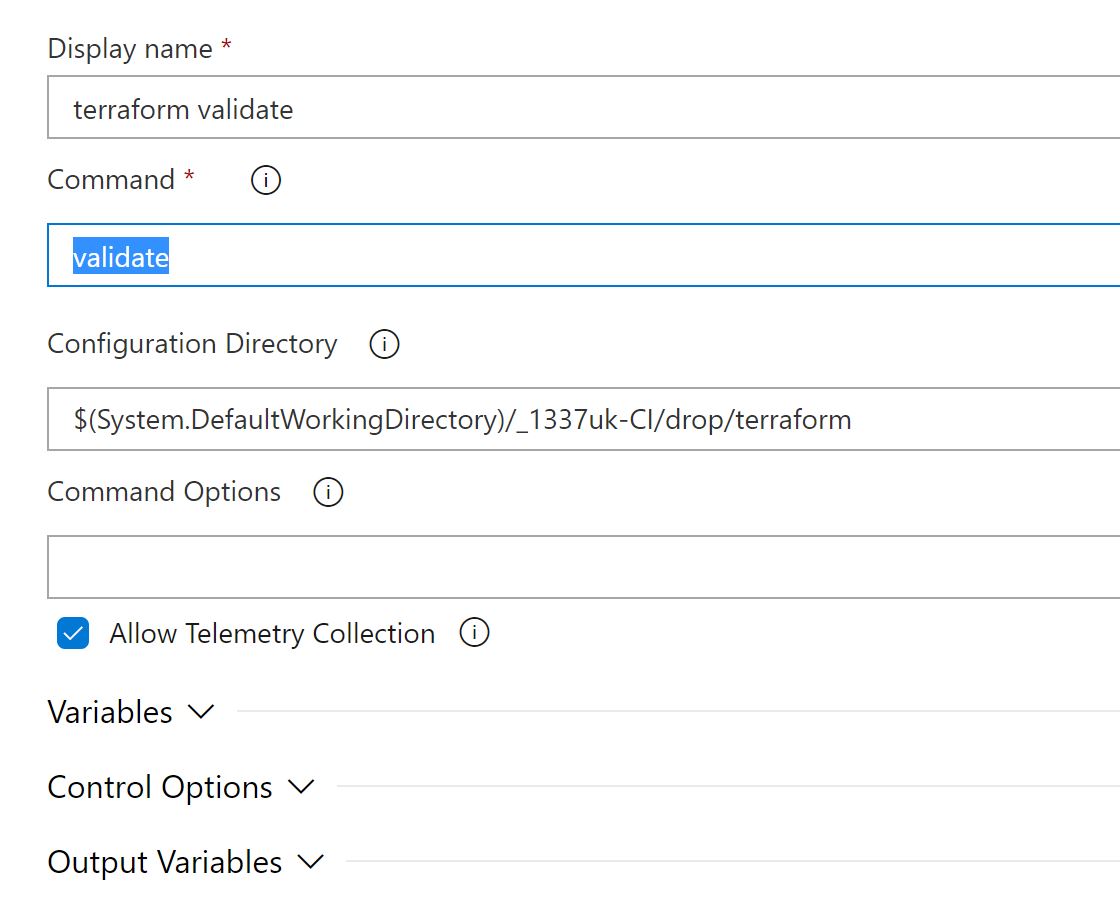
On the first cloned task, change the name to 'terraform validate' and change the command to 'validate' - leave everything else the same.
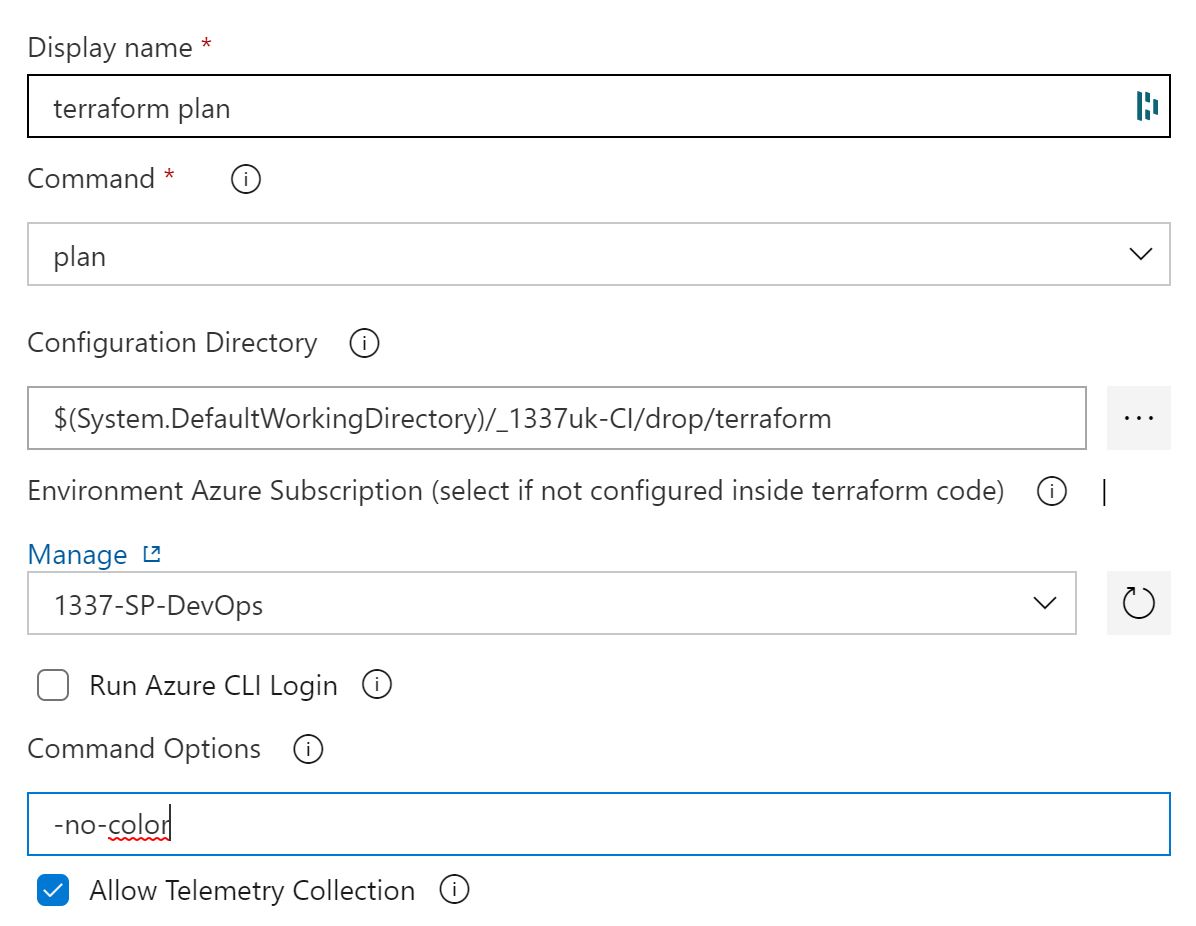
Click on the second cloned task, change the name to 'terraform plan' and change the command to 'plan' - leave everything else the same.
A dropdown will appear, requesting a connection - select the Service Connection we configured earlier.
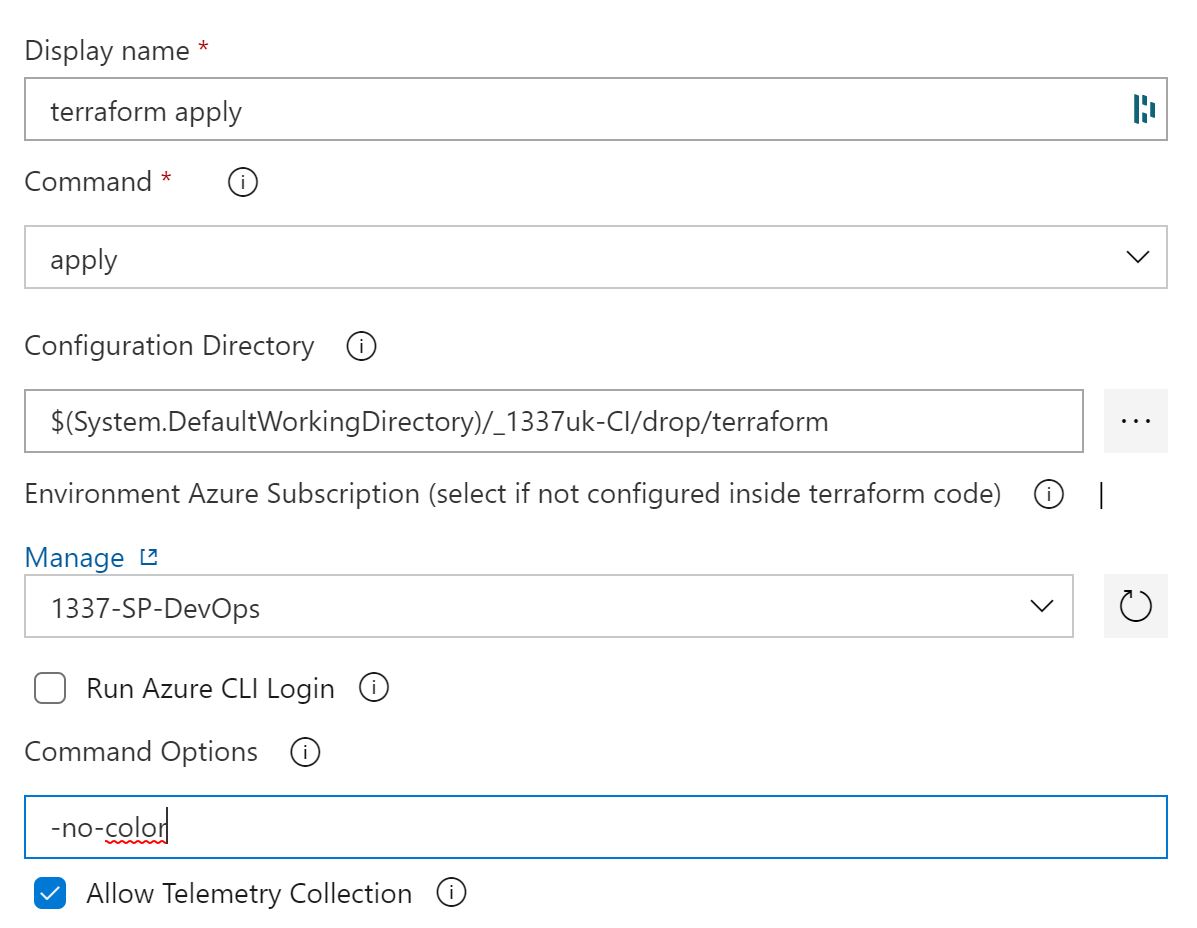
Terraform supports coloured output text and will use this by default. Azure DevOps doesn't however do you'll get odd characters appearing. To fix this - in the command options, enter '-no-color'.
That's the Terraform Plan stage finished - Click save in the top right. It should look like the below.
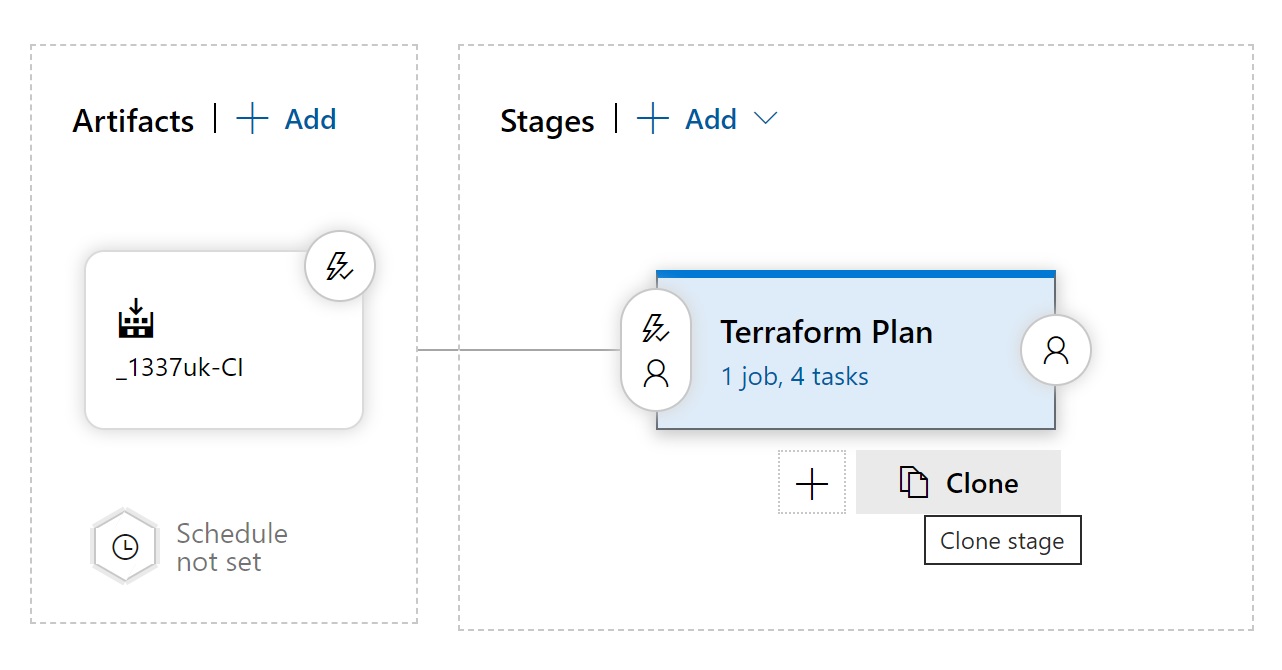
We now need to duplicate this stage and change it to a terraform apply, click on the pipeline tab at the top.
We need to duplicate the Terraform Plan stage, so hover over the plan stage and click the clone icon.
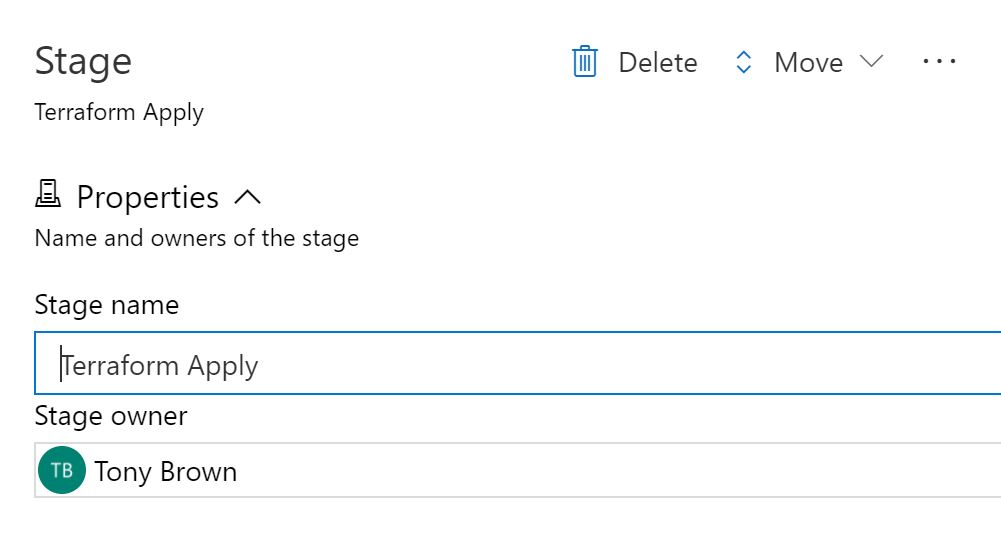
You'll see a new stage appear to the right, we need to edit this stage now and convert it into an apply. Click on the cloned stage and change the name to 'Terraform Apply'.
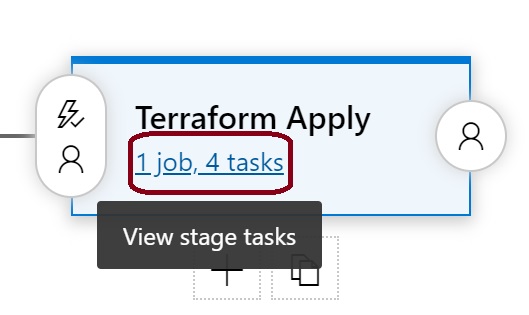
Click back to the apply stage tasks.
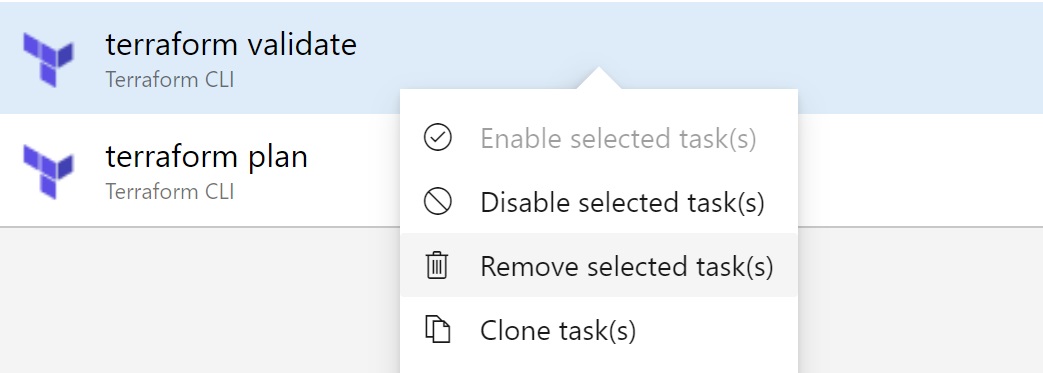
We need to modify these tasks to represent the apply phase. We don't need a validate tasks as we've already done this in the plan phase, so we need to remove this task, and change the plan task to an apply task.
Right click on the terraform validate task and click remove task.
Click on the 'terraform plan' task and rename this task to 'terraform apply'. We also need to change the terraform command to 'apply'.
The is the apply phase complete, we now need to configure the approval so the plan phase pauses while we manually validate the changes.
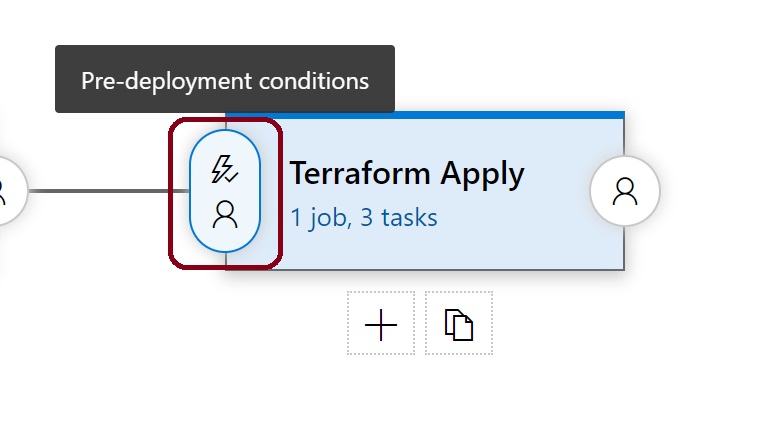
Click back to the pipeline, and click the icon in the apply phase that controls pre-deploymeny conditions.
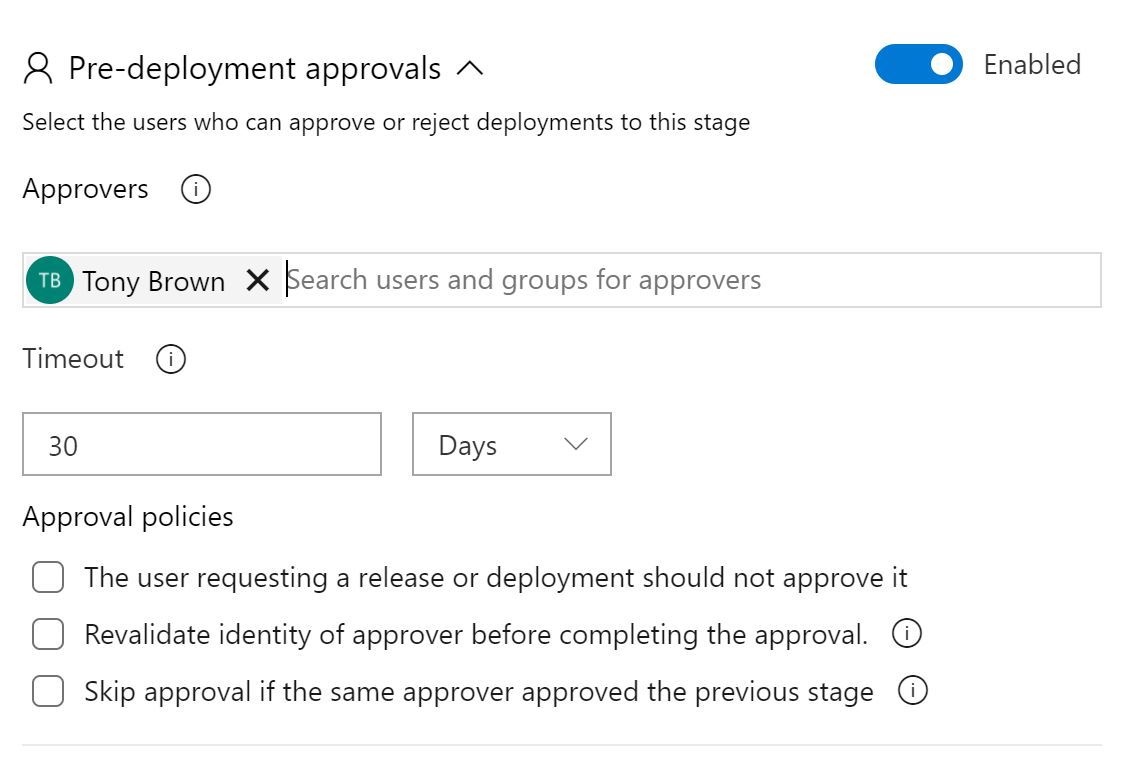
Leave the after stage 'terraform plan' as it is and slide 'pre deployment approvals' to be enabled.
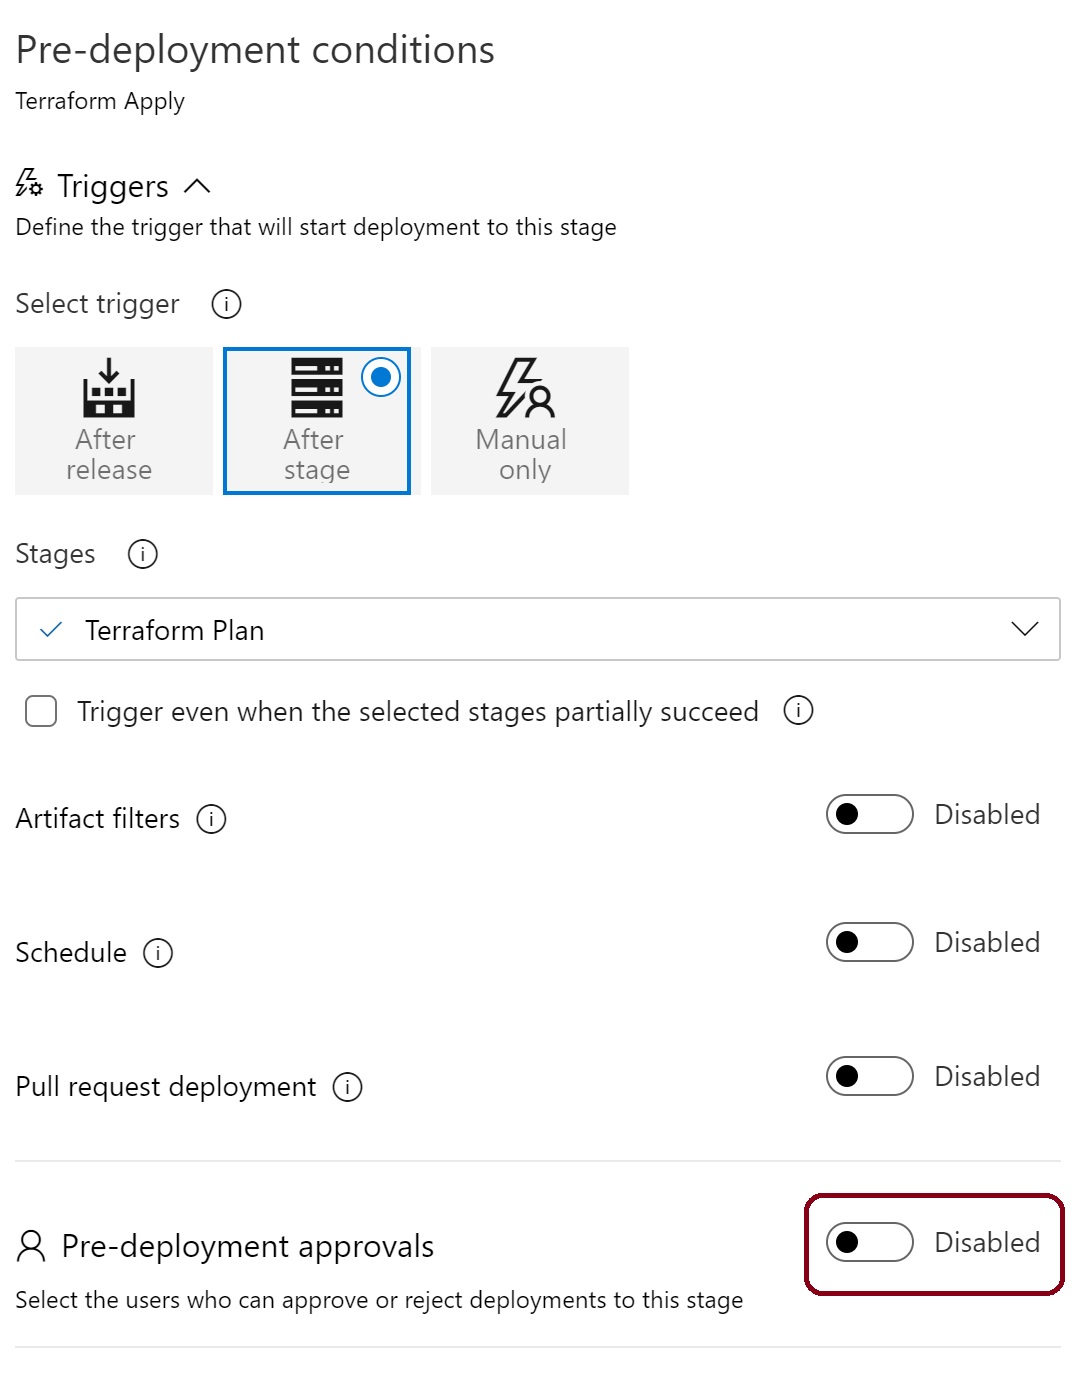
A new section appears, enter your name so you can approve changes. If you're working in a team - add the rest of the team. You may also want to select the box 'The user requesting a release or deployment should not approve it' if you want to ensure any changes are peer reviewed.
We're now finished - click save in the top right and enter a comment if you wish. Your release pipeline should look like the below;

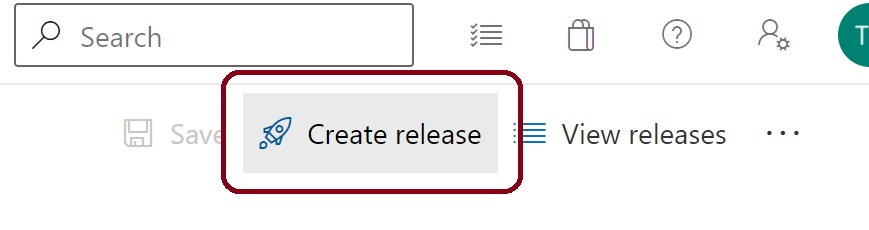
We now need to test everything - click on the 'Create release' button, then click 'create'.
Click back to the releases tab on the left hand side to see the release in action.
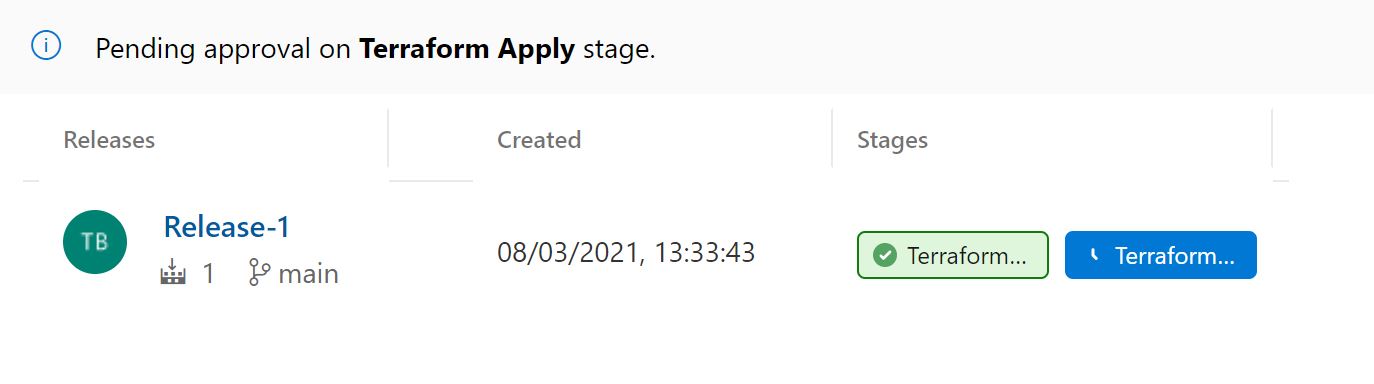
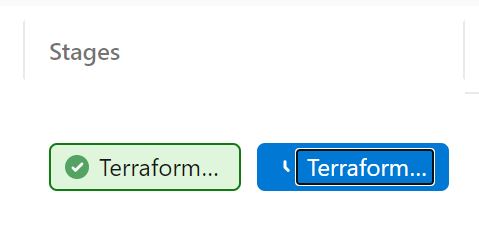
The plan stage will run and pause for approval.
Click the creen Terraform plan stage button and scroll down to the terraform plan task and click it to see the plan details.
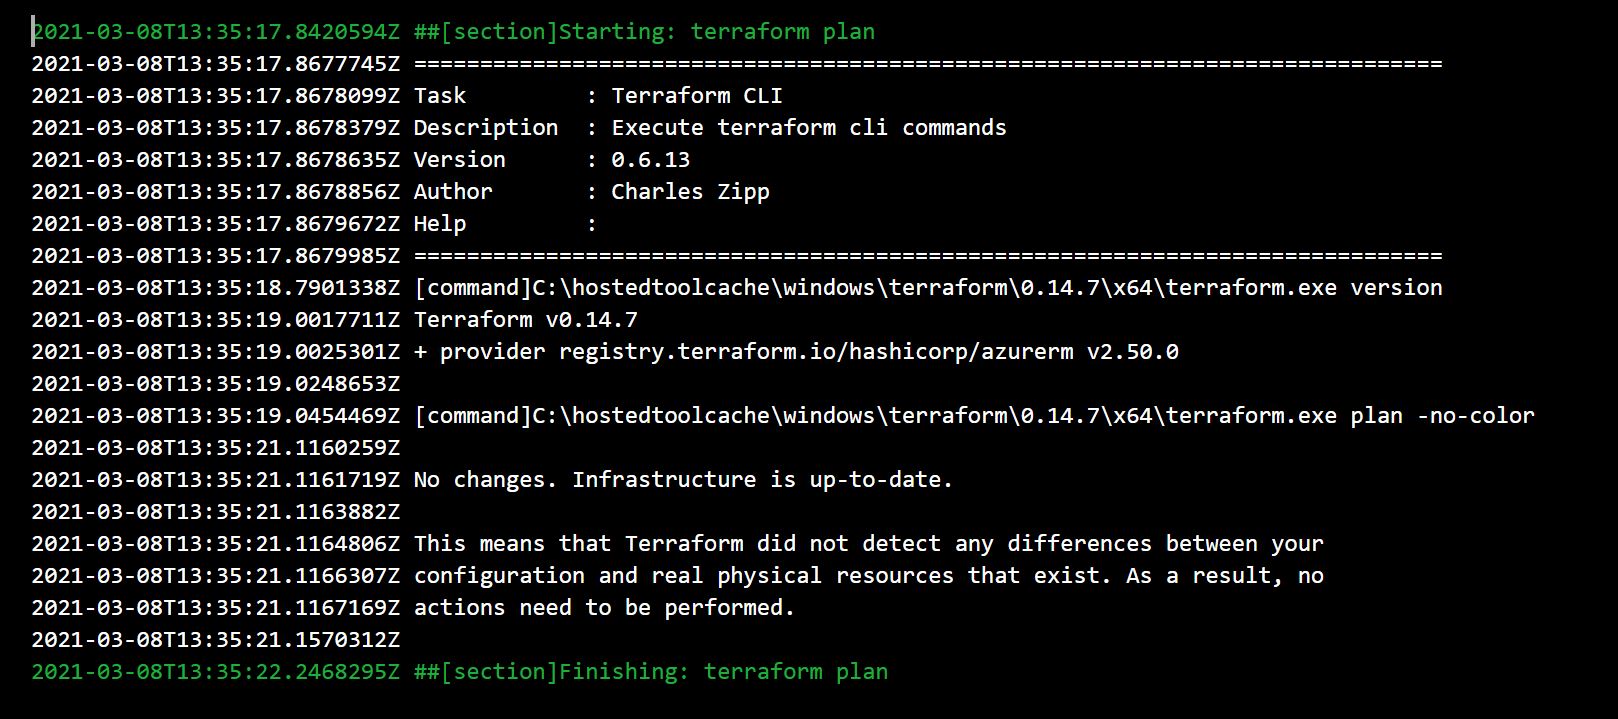
You'll see that the infrastructure is up to date and no changes are required. You may see an error on the init task the first time the pipeline is ran, you can ignore this - the AzureRM backend is just being created. We can go ahead and apply these changes.
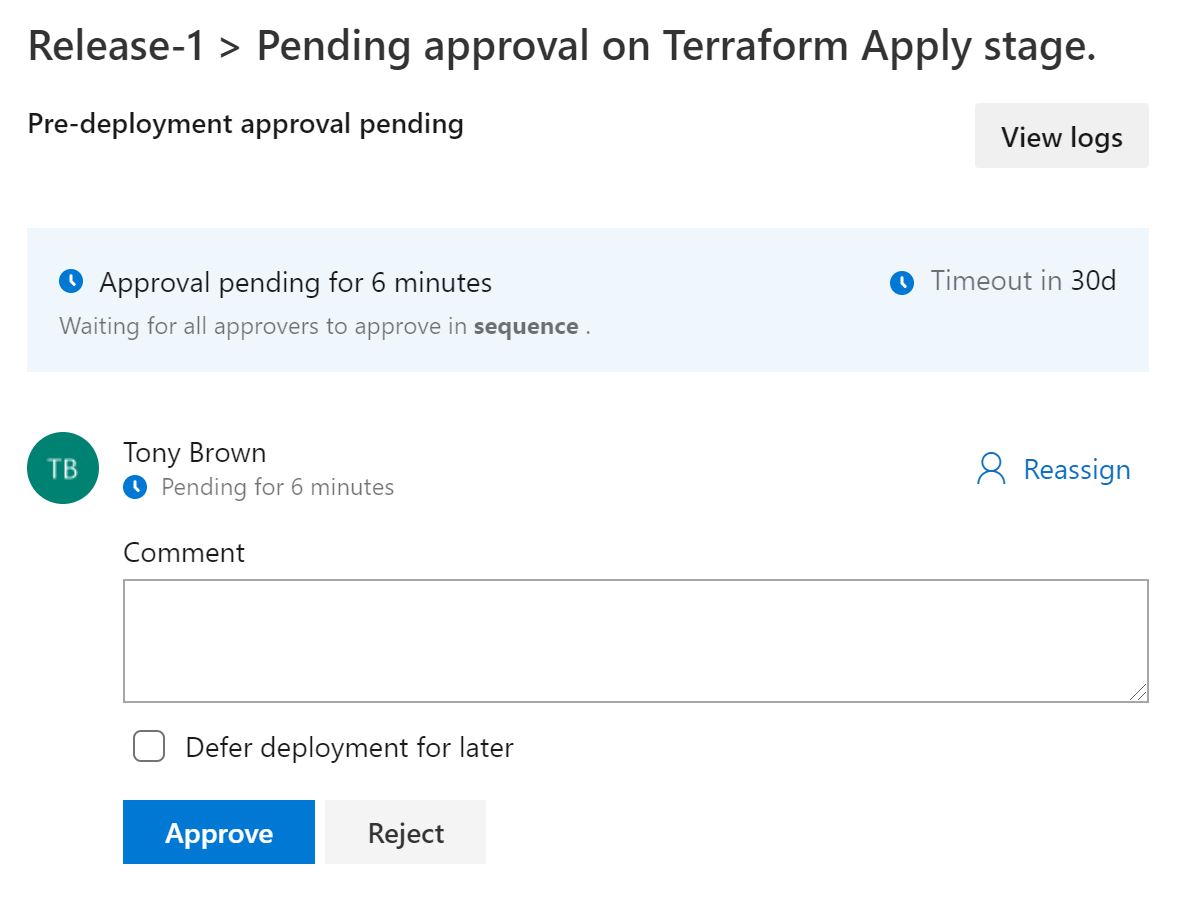
Click on the blue terraform apply phase that's waiting on approval.
Click Approve to approve the apply stage
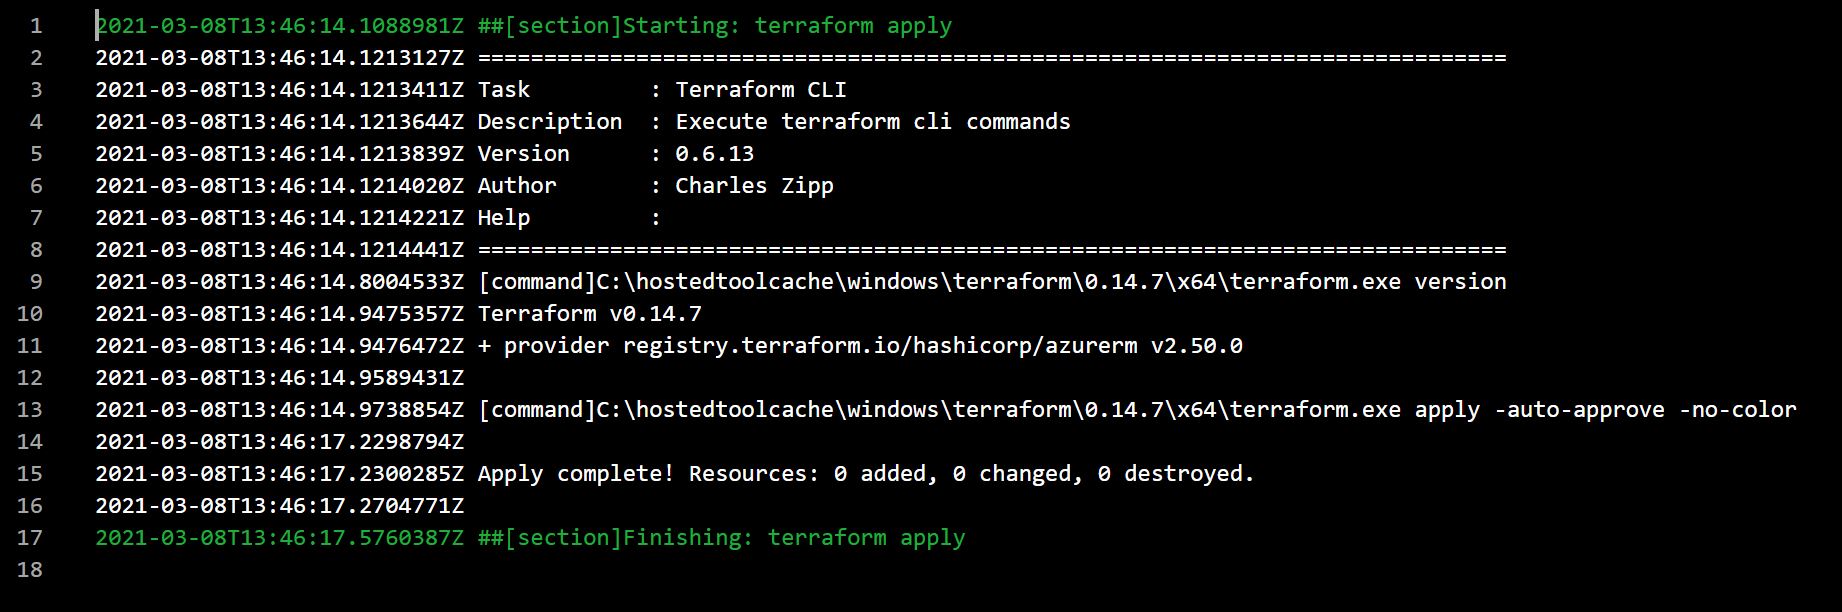
The apply stage will run and finish with no changes.
This is the setup process complete and working - we've not tested adding resources in VS Code yet though, so head back to VS Code and create a file called vnet-main.tf underneath the terraform folder.
In the contents of this file put the following code to create a resource group and a virtual network. This is just for testing, we'll delete it in a few minutes.
Save the file in VS Code.
 .
.
Commit the change by clicking the source control icon, then push the change to the Azure DevOps repo.
If you go back to your Azure CI pipeline, the pipeline gets executed automatically.
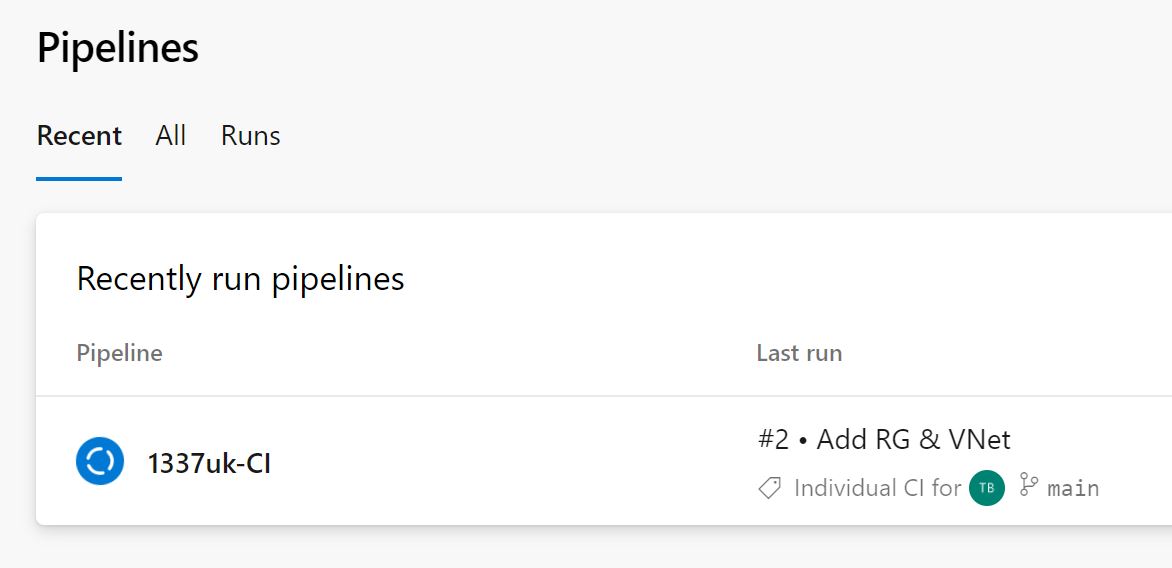
The CD pipeline is started and waits for the approval process.
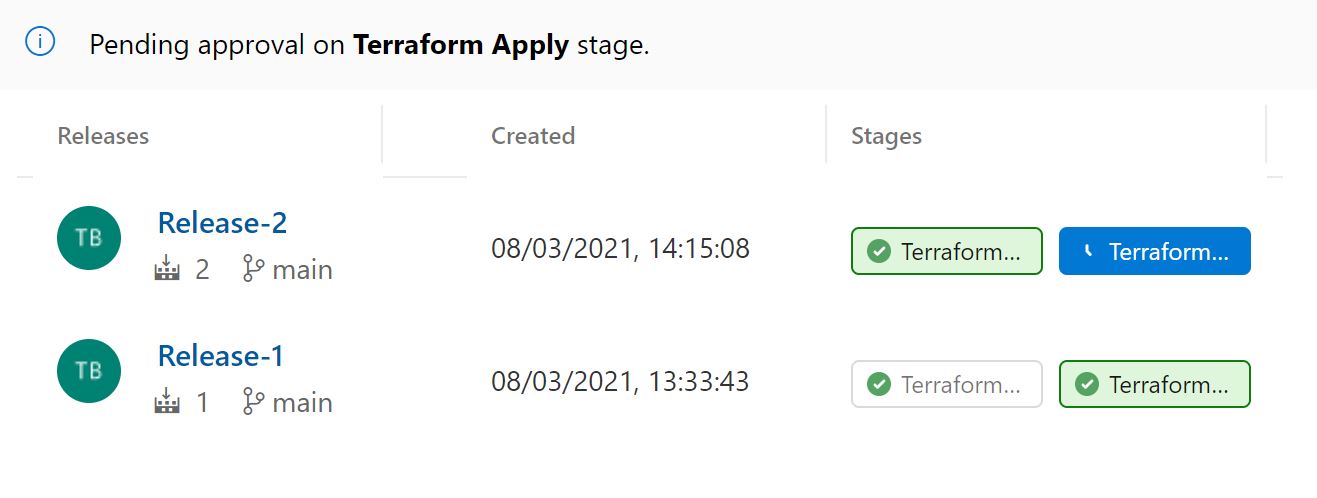
Click on the terraform plan stage and look at the changes that will be implemented.
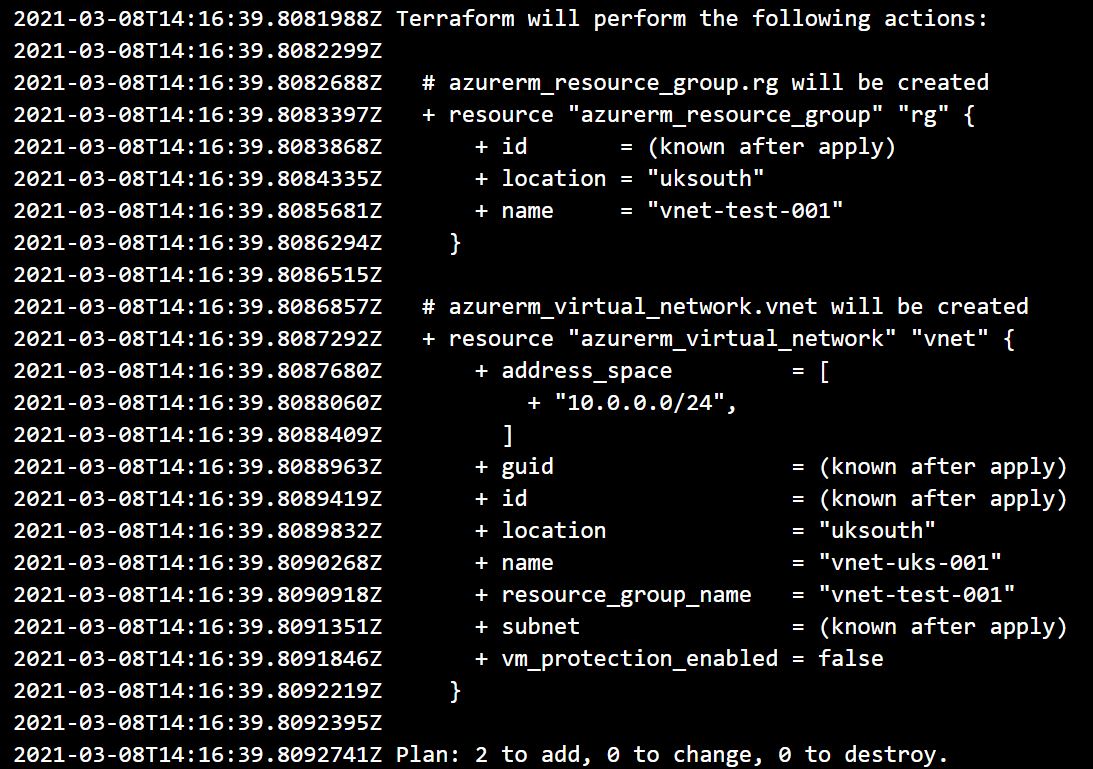
You can see the two resources will be created. Click on the apply stage and approve the stage.
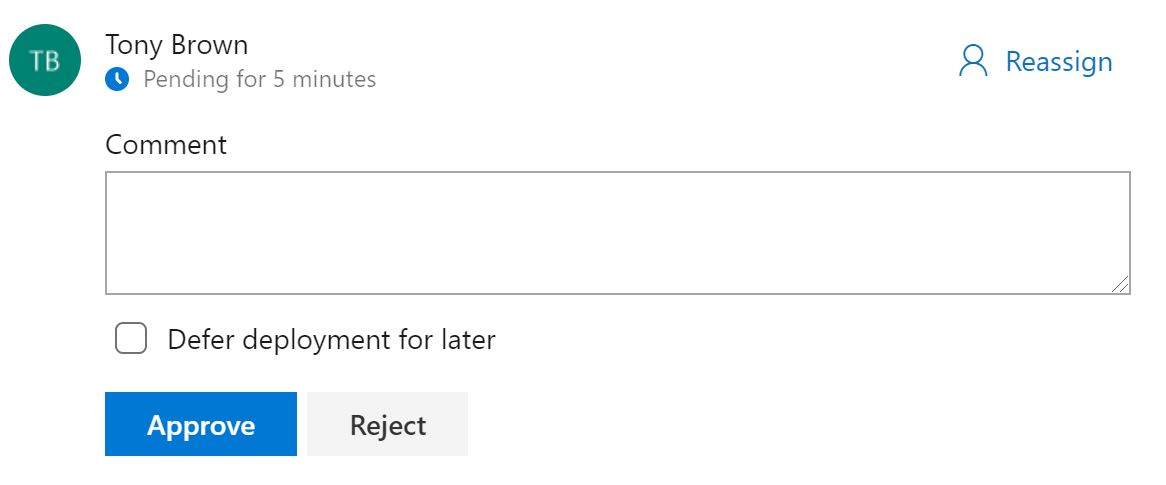
And when you check the apply logs, you'll see the resources are created.

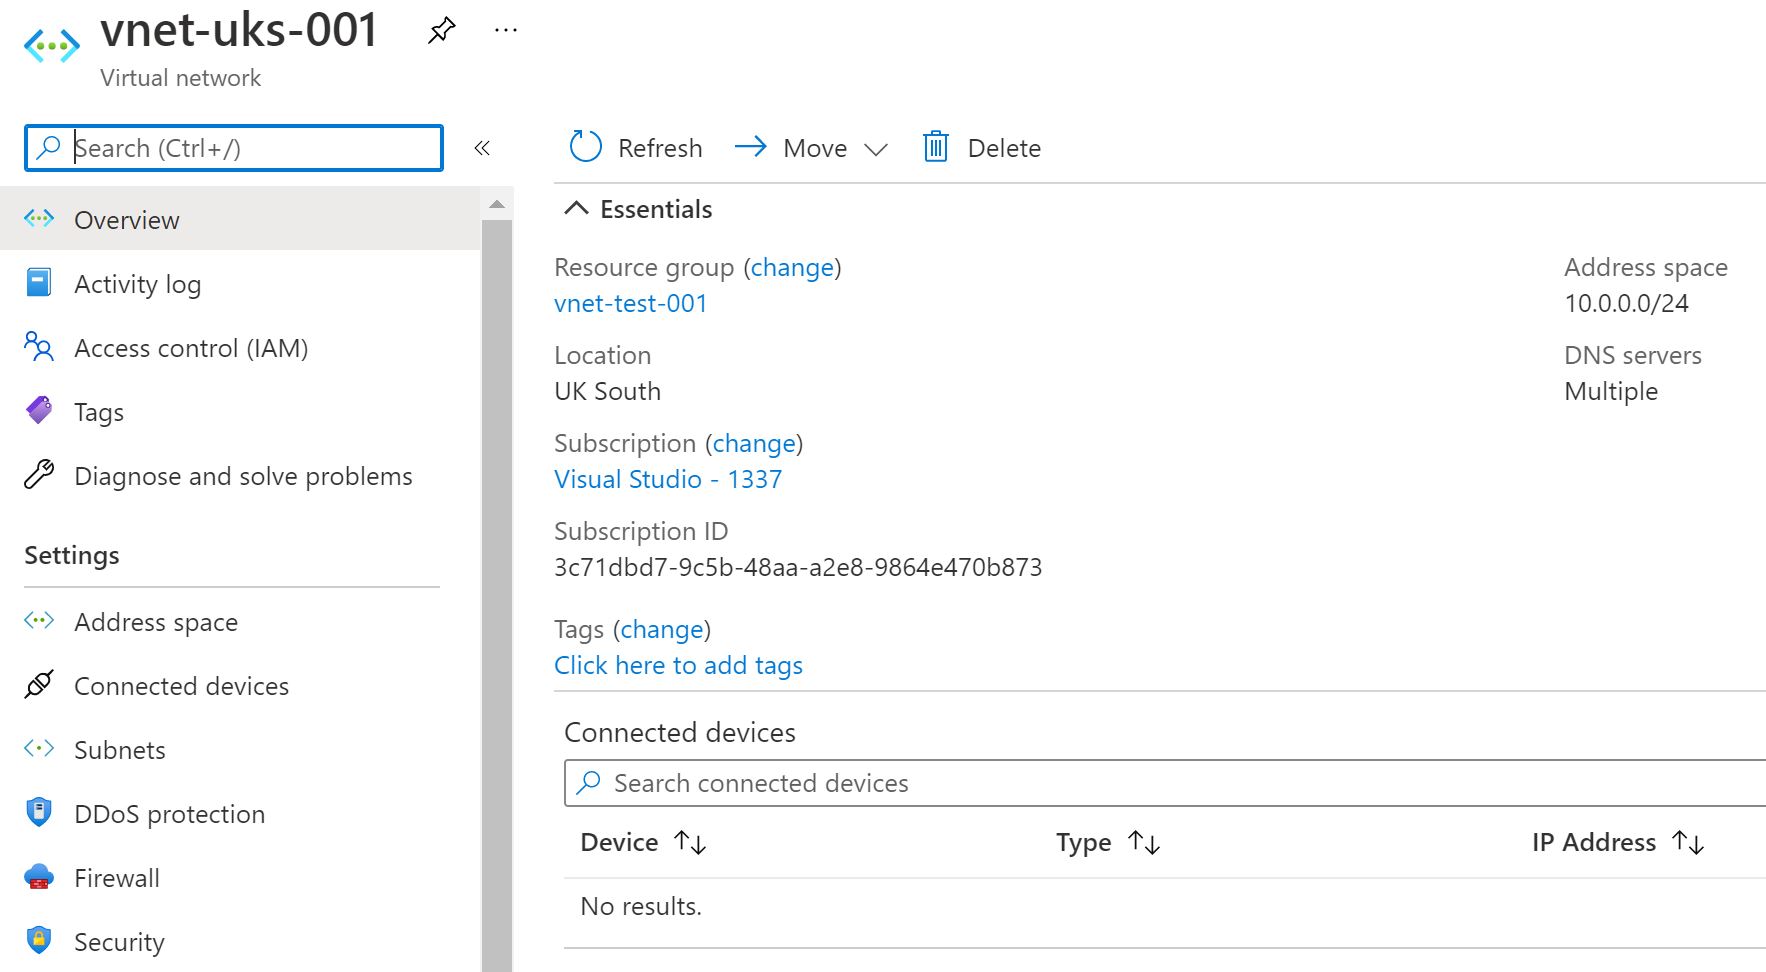
And if you check the Azure Portal - you'll see the resource group and VNet have been created.
You can now delete the file from VS Code, commit and push the change - watch the pipeline execute, check the terraform plan log, approve the change and watch the resources get removed.
Congratulations - you've successfully configured a safe Terraform IaC pipline that uses Azure DevOps. :D
Any questions, please get in touch - hope this has been useful.